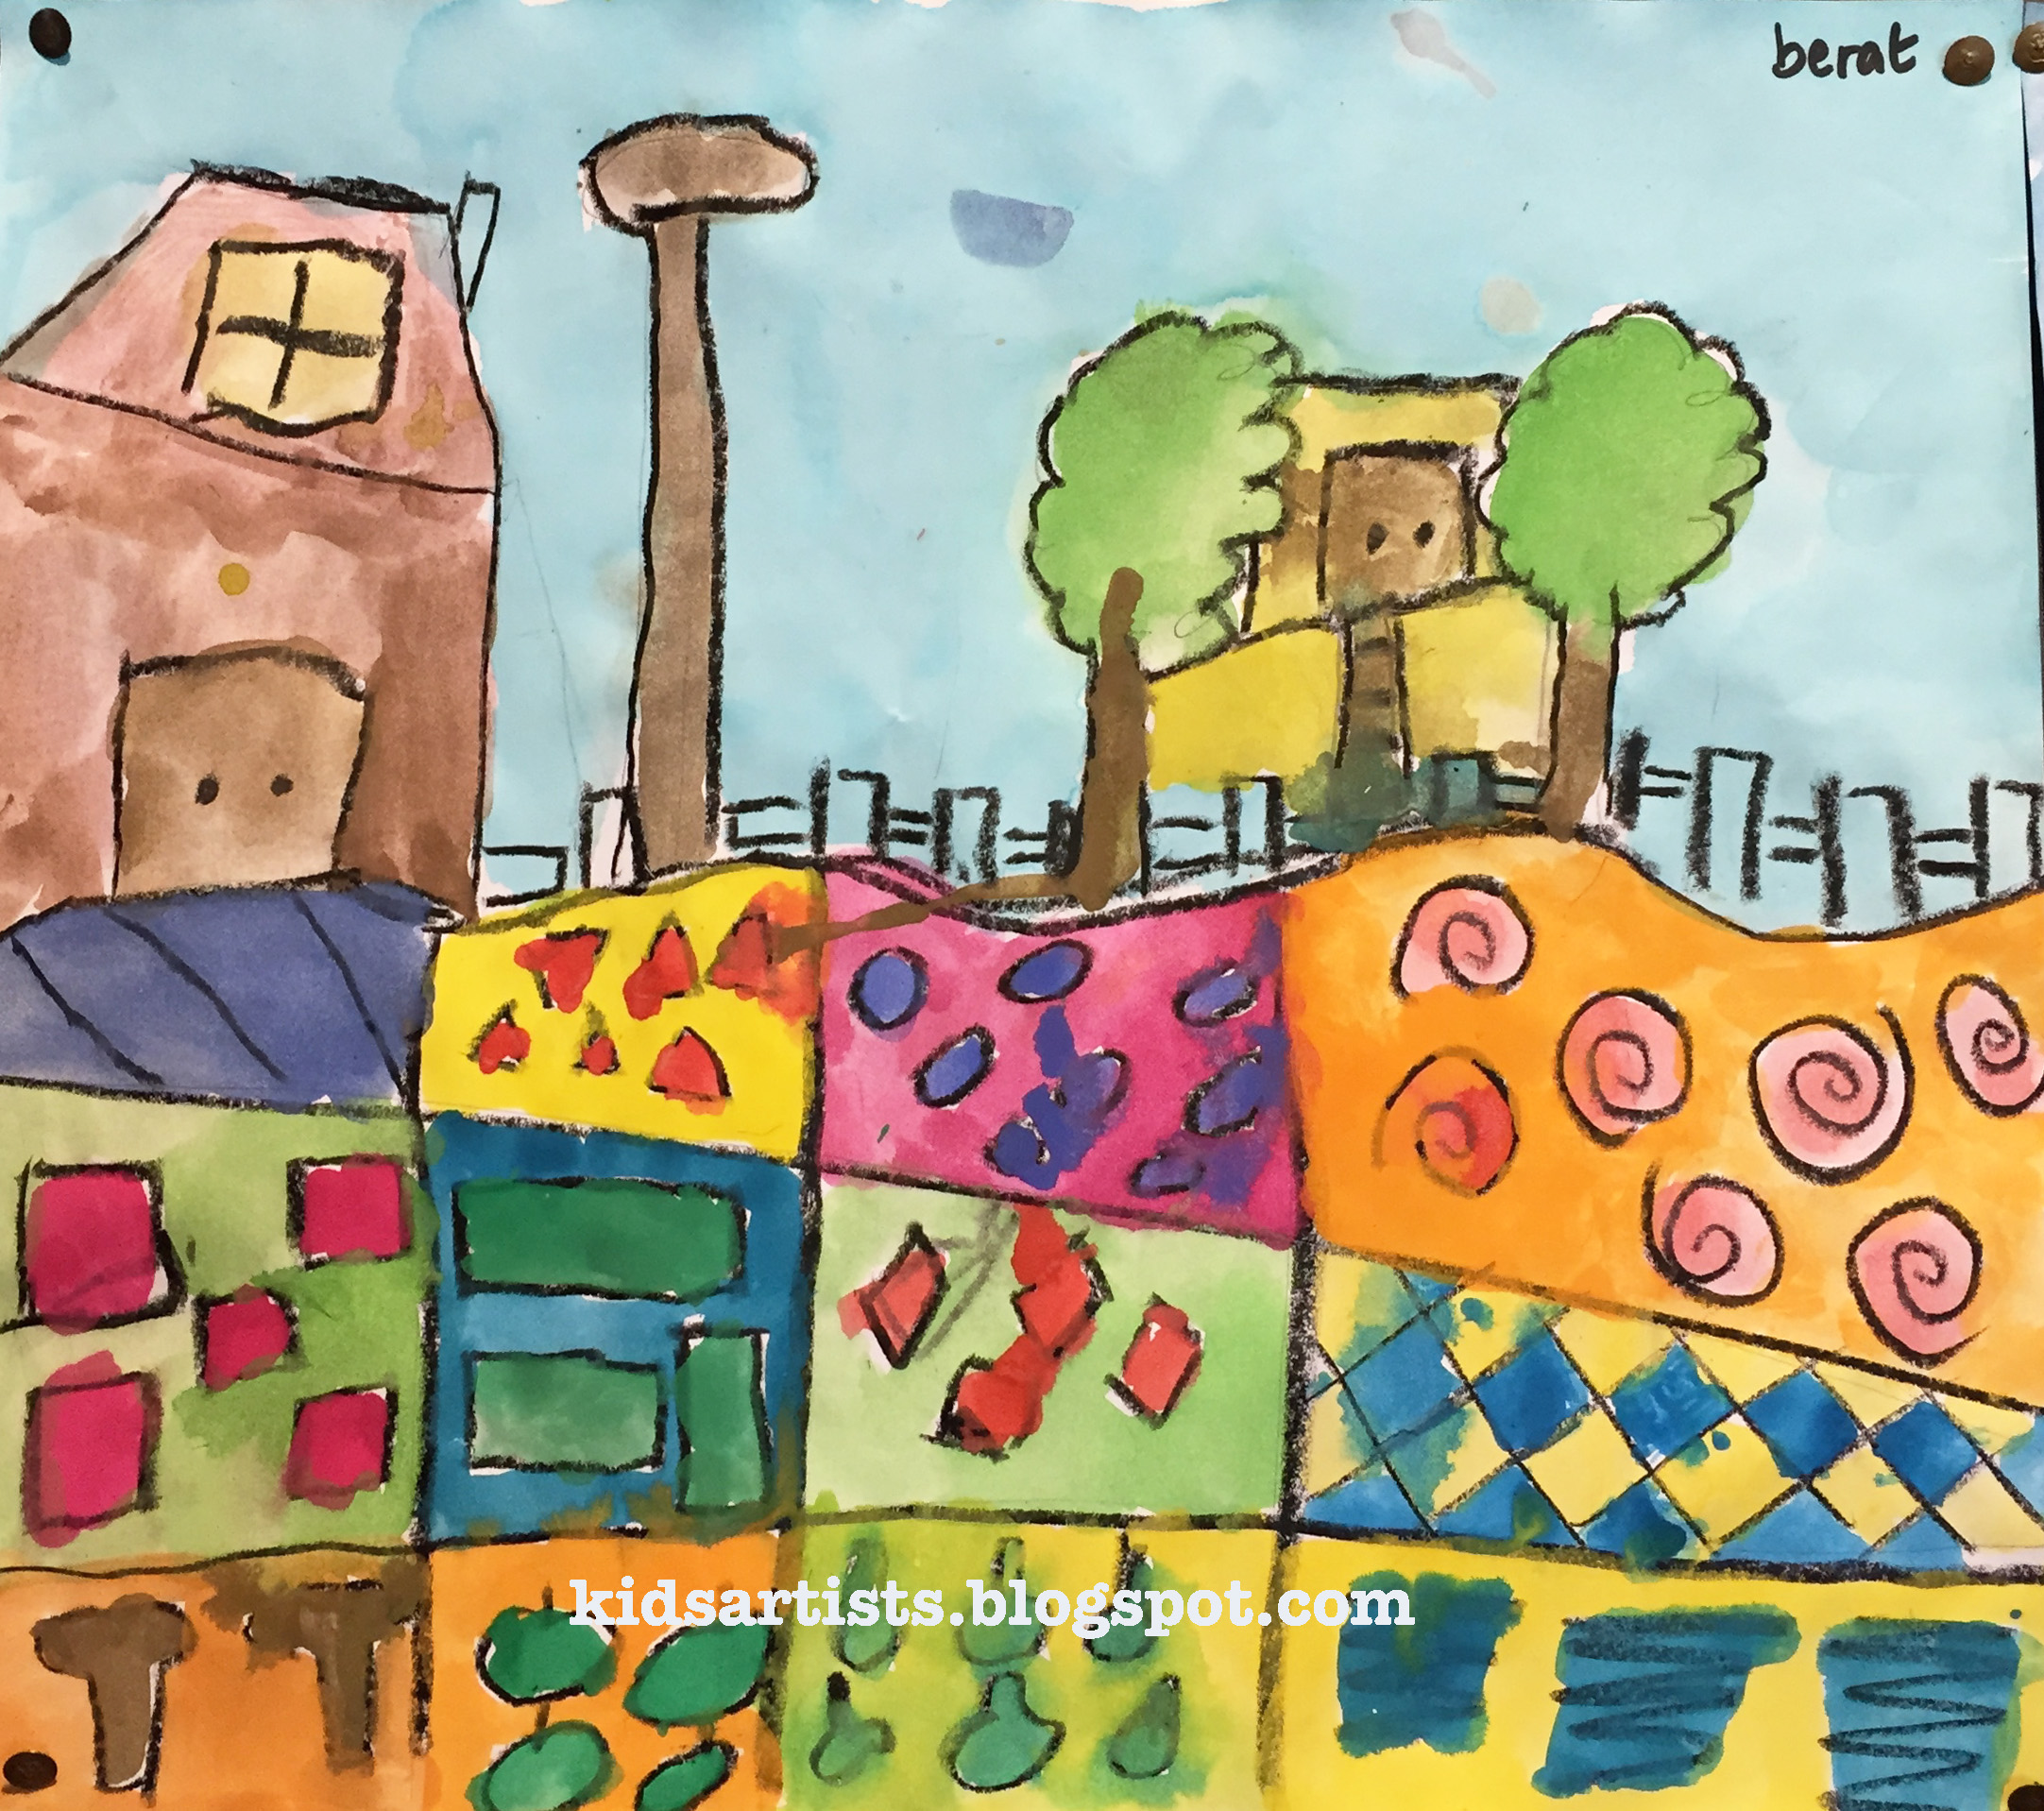
by a student of grade 4
You need:- white drawing sheets
- water color paint
- brushes
- jar with water
- crayons
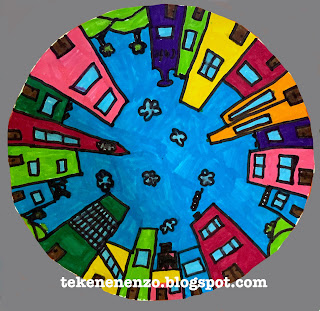
Steps:
- Put the sheet in width for you.
- Draw a wavy line on 2/3 of the bottom using a crayon.
- Divide this area in 12 of 15 surfaces by drawing 2 horizontal and 3 o4 r vertical lines.
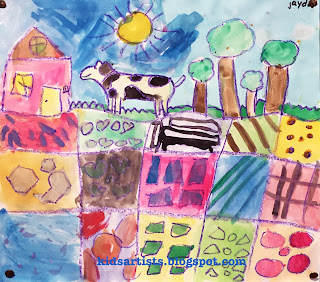
- Draw with a crayon house and trees on the horizon line.
- Draw patterns in the surfaces.
- Paint the surfaces in differtent colors.
- Paint house, trees and air.
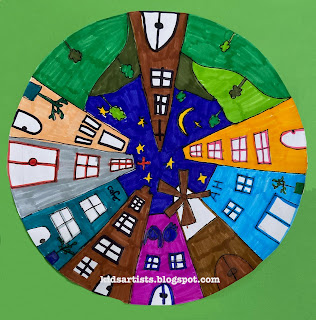
With this lesson you can also practice one-point perspective. Place a dot in the middle from the top of the sheet and draw vertical lines towards this dot.

bij a student of grade 4


