Posts tonen met het label landscape. Alle posts tonen

zondag 21 mei 2023

A field full of daisies

Made by a student of grade 5

You need:
  1. white drawing sheet A3 size
  2. tempera paint in blue, green, white, yellow and red
  3. egg boxes or saucers
  4. brushes
  5. jars with water
  6. newspapers
  7. paper towels
  8. coloured paper for background
Daisies (bellis perennis) are, until it freezes, found in lawns. View pictures of daisies and discuss what they look like. 
Students start to paint the grass. They have to make their own green colors by mixing blue, white and yellow. Paint the entire sheet with small vertical strokes and let dry.

Then the daisies can be painted. In the front of the field daisies are larger  then further away. Use a small brush and a lot of paint, to make sure the green grass is really covered with the white paint of the flower. Use a different color green for the stalks or take the unmixed color green directly from the bottle. Paint the hearts of the flowers with big yellow blobs.
Paste the artwork on a matching background.

donderdag 15 september 2022

Patchwork landscape

by a student of grade 4
 You need:

  1. white drawing sheets
  2. water color paint
  3. brushes
  4. jar with water
  5. crayons
Steps:
  1.  Put the sheet in width for you.
  2.  Draw a wavy line on 2/3 of the bottom using a crayon.
  3. Divide this area in 12 of 15 surfaces by drawing 2 horizontal and 3 o4 r vertical lines. 
  4. Draw with a crayon house and trees on the horizon line.
  5. Draw patterns in the surfaces.
  6. Paint the surfaces in differtent colors.  
  7. Paint house, trees and  air. 
With this lesson you can also practice one-point perspective. Place a dot in the middle from the top of the sheet and draw vertical lines towards this dot. 


bij a student of grade 4


zondag 14 augustus 2022

Landscape like Ton Schulten


You need:

  1. drawing sheet 
  2. tempera paint in primary colors, black and white  
  3. ruler
  4. pencil
  5. brushes
Ton Schulten (1938) is a Dutch painter, born and living in the small town Ootmarsum. He worked as a graphic designer and decided in 1989 to devote himself entirely to painting. His main source of inspiration is the landscape of Twente, a region in the east of Holland. This is a semi-open landscape that, due to the planting of hedges and wooded banks, looks like a stage with wings.  

Show artworks from Ton Schulten and discuss them.
  • Schulten's use of colors  
  • horizon line
  • the 'curtains' on the sides - the picture is darker there than in the middle
  • simple shapes
  • divided in rectangles
by students of grade 6

What should you do? 
You're going to draw a landscape like Ton Schulten. First draw a horizon line on about half of the sheet. Draw one or some simple houses. Then draw some draw trees. Divide the drawing with horizontal and vertical lines into small rectangles.  
Paint the rectangles with tempera. Mix your own colors, starting with the brightest one. For example: start with white and add a drop of blue to get light blue; add more drops to get a darker blue.  
Perhaps you can draw 'curtains', just like Ton Schulten: the sides are darker than those in the center. 

Elements of art: shape, line, color, nuance.  

woensdag 28 april 2021

On Monet's bridge


You need: 

  1. drawing sheet A3 size
  2. tempera paint
  3. brushes
  4. white construction paper
  5. scissors
  6. oilpastels
  7. glue
Claude Monet (1840-1926) is considered one of the most important painters of Impressionism. 

 Typical for Impressionists:

  • they choose subjects from ordinary life 
  • special attention for light and color
  • work in the open air
  • smooth brushstrokes
  • dashes resemble a sketch
  • it's about the impression!
Discuss the term impressionism. Show some paintings by Monet and zoom in on a work with water lilies in Arts & Culture. Do students see the characteristics of impressionism in this artwork?

Monet had a large garden with a pond and a Japanese bridge in Giverny France. He liked to paint in that garden. His works of water lilies are therefore famous and are the basis of this lesson.


Lesson 1
Draw a horizon line above the middle of your sheet. Paint the pond and the sky with short brush strokes, like Monet did. Do not mix the paint, but take two colors on your brush.  Make sure the blue color of the pond is not the same color as the sky.
Paint trees on both sides of the sheet in the same way. Paint water lilies in the pond. Be sure that they are larger in the front of the pond than in the back.  

Lesson 2
Have someone take a picture of you that shows you all the way. Print the photo and cut it out. 
Cut three parallel arcs from about 1,5 cm wide from the construction paper.  Then cut four straight pieces of 1,5 cm wide. Paste the photo on the work and paste the bridge over it. 

All artworks are made by students of grade 6

Source: MaryMaking.blogspot.com

woensdag 30 november 2016

Landscape with chalk pastels

Made by students of grade 5

You need:
  1. black construction paper
  2. black oil pastels
  3. soft pastels
  4. hairspray
Show several hillsides and discuss what you see:  light/shadow, depth, overlapping, colours, pointed/rolling. 

Students draw with pencil a simplified hillside on the black sheet. In the blogpost 'Peaks and Valleys' a step by step explanation how to draw this. Give students a maximum of 5 minutes for this part of the lesson, to prevent them of drawing all kinds of details.

Trace the pencil lines with black oil pastel. Colour the hills and sky using chalk pastels. Color and mix, smear and blend until you're satisfied. Be sure the difference can be seen between the light-iluminated parts of the hills and the parts that are in shadow. 
Trace after coloring the black lines again if necessary. Fix the artwork with hairspray. 

vrijdag 24 juni 2016

A day at the beach


Artworks made by students of grade 5

You need:
  1. drawing sheet A3 size
  2. white drawing sheets
  3. tempera paint
  4. brushes
  5. scissors
  6. markers and/or pencils
  7. glue
  8. pencils
Talk about a day at the beach: things (to do) on the sand, things (to do) in the water and things (to do) in the air. Talk about people standing in the water: they seem to have half legs!

Cover four tables with newspaper and put three containers with paint on it:
  • yellow and a little brown besides (beach) + two big brushes
  • blue and a little green (seawater) + two big brushes
  • blue and white (air) + two big brushes 
  • white (surf) + two brushes to stamp
Show how to paint the beach: a lot of yellow on the brush and a little brown for the beach (do not mix!). Do the same with blue and white for the air, and blue with green for the sea. Make wavy motions with the brush to accentuate the water. Finish with a white stamping brush for the surf.
While four students are painting, the others can start with the drawing part of this lesson: draw people and things you see on the beach. Color with markers or color pencils. Cut those little drawings and paste them on the beach, the water or in the air.


vrijdag 8 april 2016

The sky is the limit

Golden Gate Bridge, made by Elize, grade 6

You need:
  1. grey paper A4 size
  2. white and black pencils
  3. pictures of famous skylines
During a visit to the Museum in The Hague, I saw an artwork that Escher had made on gray paper. The only colours he had used were black and white. Together with the gray, you do have a lot of colours at your disposal. The Escher drawing I saw then, was the inspiration for this lesson.


Show photos of some famous skylines. Discuss skylines, skyscrapers and remarkable buildings. Ask children to search a skyline on the internet. Print this in black and white and then copy it so you can see the shadows of the buildings (settings light - dark on copyer). Students draw with just white and black pencil on the grey sheet.

Sydney skyline by Adnan, grade 6

donderdag 10 april 2014

Sheep in the meadow

Made by a student of grade 2

You need:
  1. drawing sheet 
  2. tempera paint
  3. stippling brushes
  4. masking tape
  5. black and white construction paper
  6. glue
Make a fence on the sheet with masking tape. Draw a horizontal line above the fence. Stamp with different colours the meadow. Do not mix the paint. Stamp some spring flowers too.

Stamp the air in the same way with white and blue.
Remove the masking tape. Do this when the paint is still wet.
Cut some clouds for the body of the sheep out of a white sheet. Cut heads and feet out of black paper. Paste the sheep before the fence. Draw eyes and beak with white pencil.

Source: Artsonia. 

dinsdag 12 november 2013

Autumn birches

Made by a student of grade 6

You need:
  1. drawing sheet
  2. masking tape
  3. tempera 
  4. stippling brushes
  5. charcoal
  6. chalk pastel 
See photos of birch trees and discuss the salient feautures : the long white stem, the gray black lines as a result of the horizontal peeling the bark, the many autumn colours of the leaves. Talk about the colours of the leaves on the floor: in front uou see a lot of different colours, and looking further away they merge into one colour.
Explain how to work with a stippling brush: no mixing colors, but put the brush in several colours at once and then stamp lightly. 

Paste from above a number of strips of masking tape on the sheet in various lengths. Draw a horizon line. Stamp the bottom in several autumn colours, merging into one colour near the horizon line. Stamp the remaining leaves in the trees. There may be green there too! Leave the artwork to dry and then colour the sky with chalk pastel. Pull the masking tape off carefully . Draw with charcoal the specific birch dashes .

maandag 8 april 2013

Starry night, like Vincent van Gogh


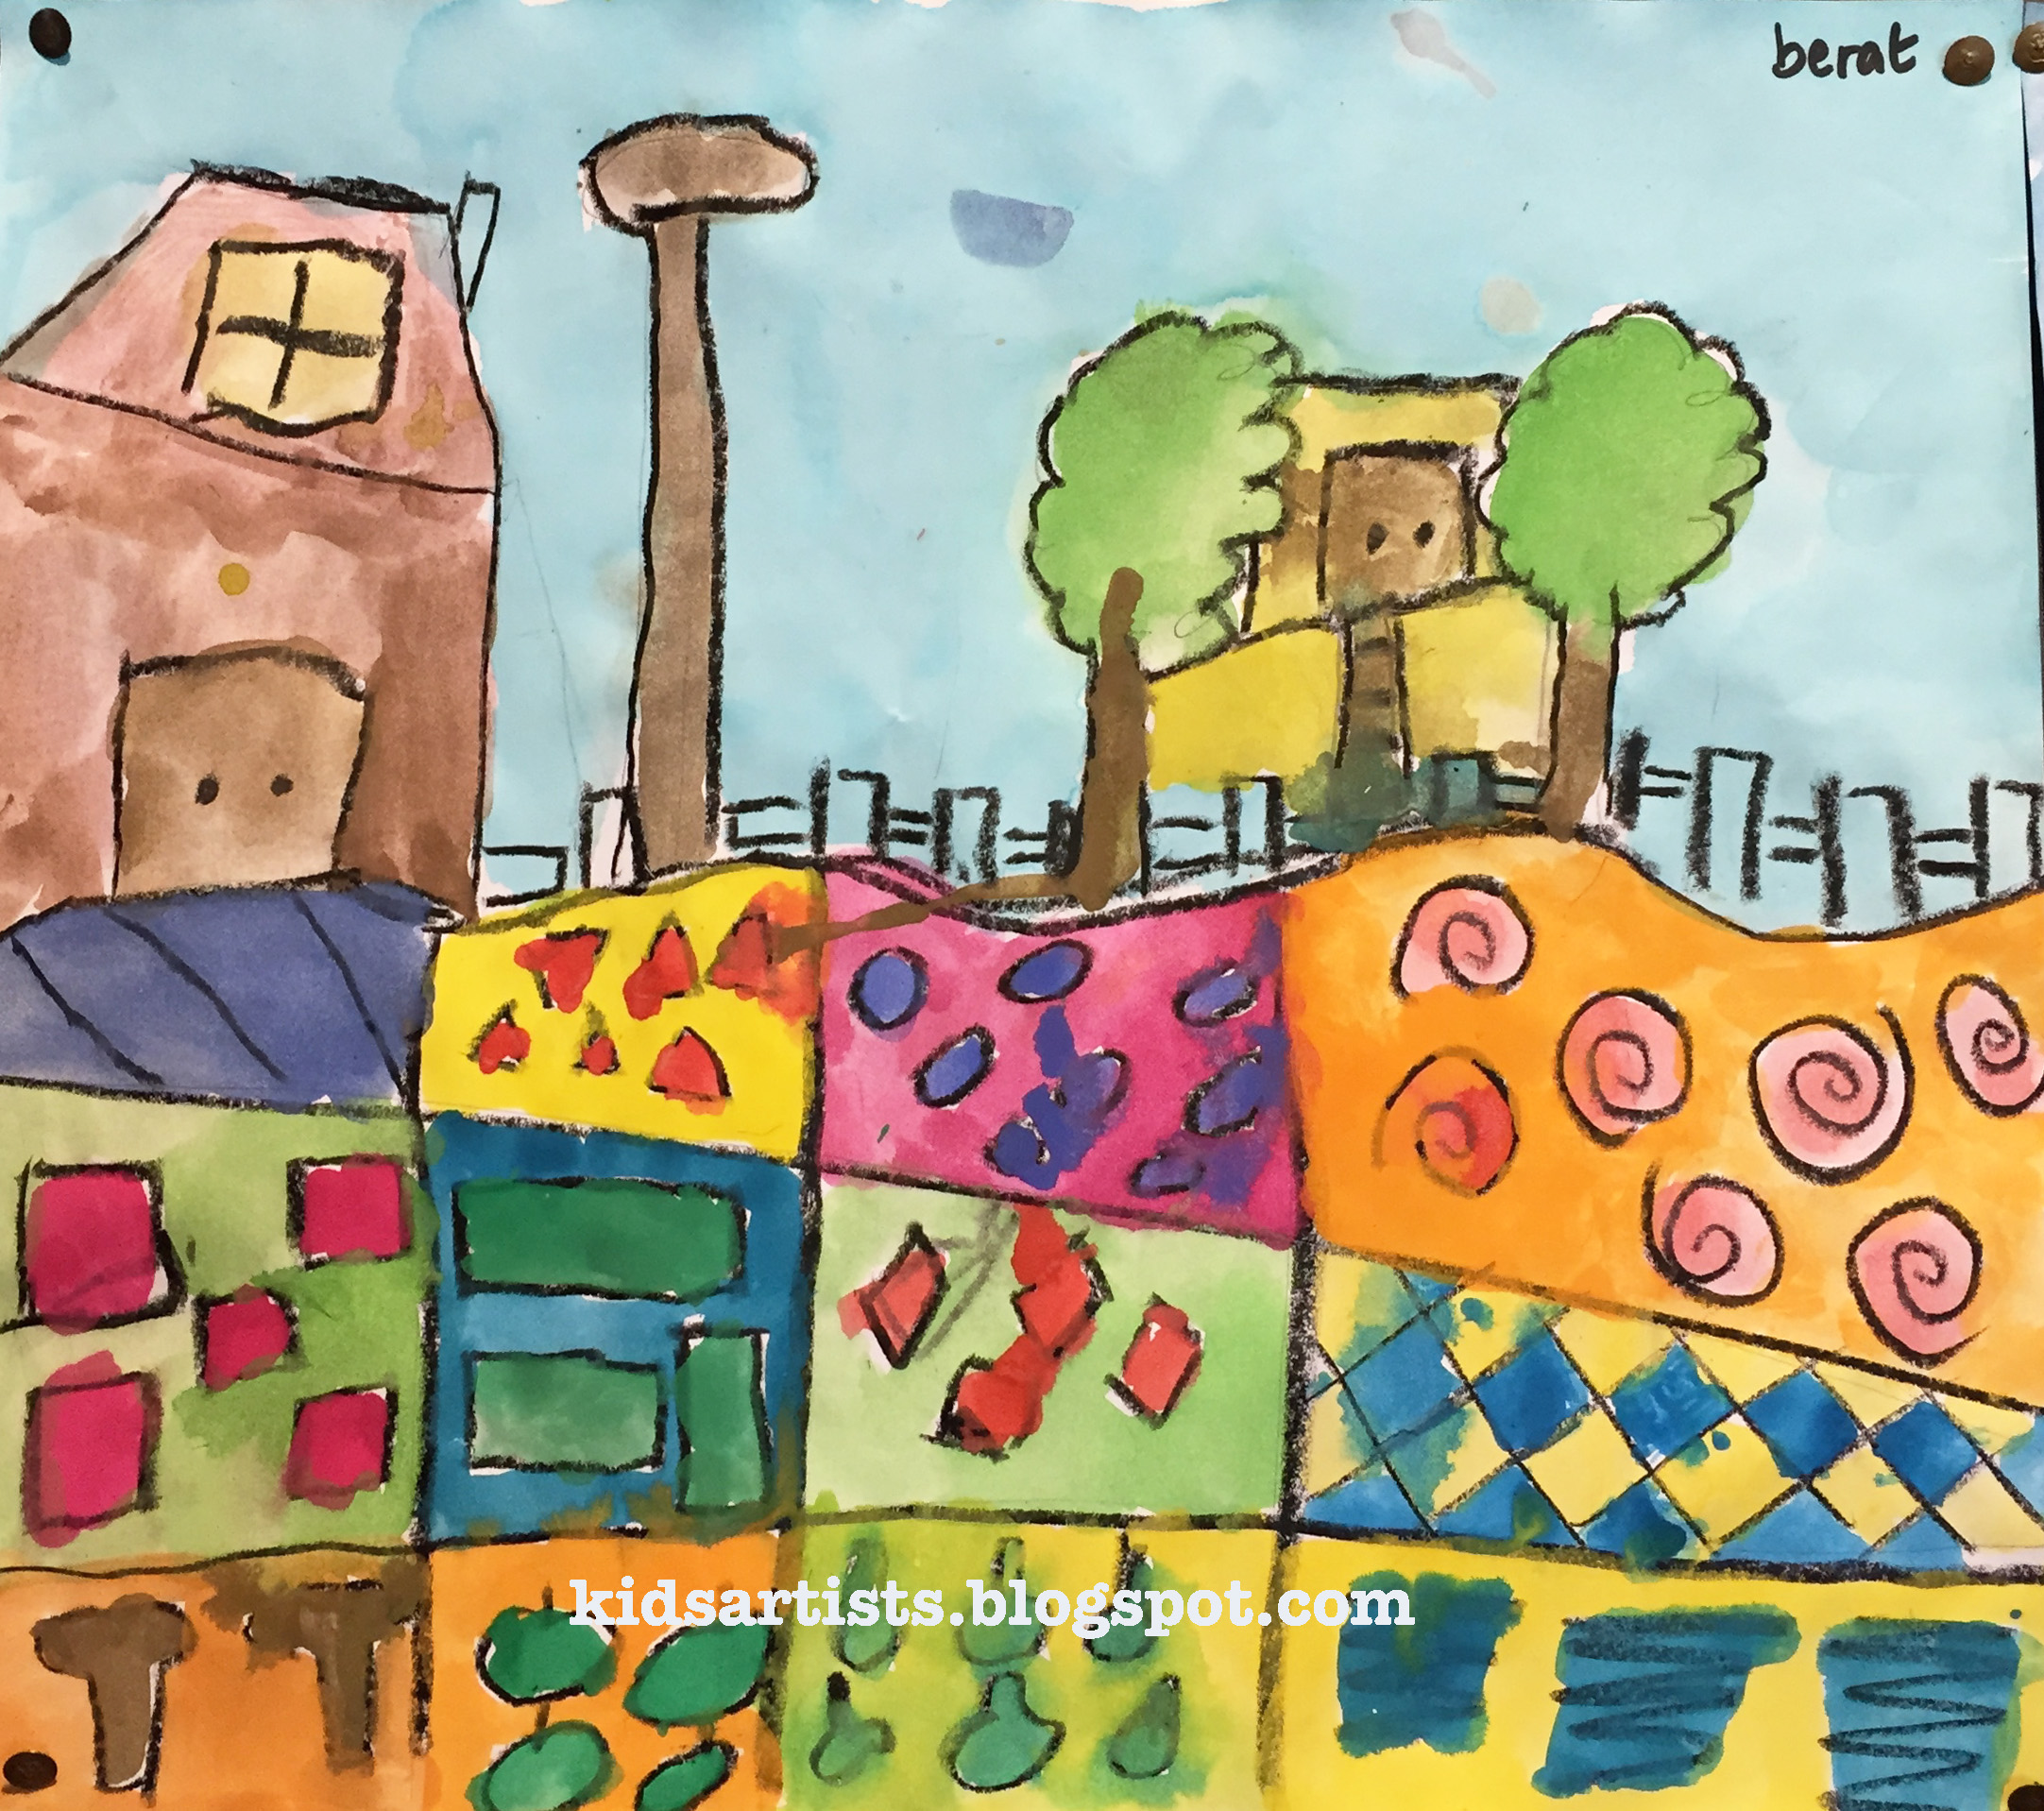
Artworks made by students of grade 4

You need:
  1. rectangular canvas
  2. acrylic paint
  3. brushes
  4. color page Starry Night
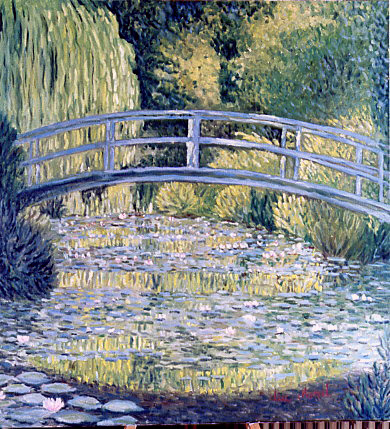
      Vincent van Gogh (1853-1890) was a Dutch post impressionistic painter. His work falls under the Post-Impressionism. When he starts painting, he paints ordinary people like poor farmers who do heavy work. The colours of his paintings are dark (The Potato Eaters).
      He moved to Paris and is impressed by the work of French painters: light and colours are the important things in their work. Van Gogh exchanged the darker colours for brighter colours. The painter Pissaro learns him to paint like the impressionists. Van Gogh changes the dots into stripes.
      After two years in Paris, Van Gogh moved to southern France, where he paints orchards and cornfields.
      In the garden of the hospital in Arles, where he's treated for his depressions, he paints his most beautiful and famous artworks: Starry Night. In 1890 Van Gogh commits suicide.


      Show images of Van Gogh's artworks on the digital board, including Starry Night. Discuss these works: bright colours, litte dashes next to each other in stead of mixed coloures. 

      The students use a colouring sheet of Starry Night to draw on their canvas. This has to be painted like Van Gogh did: short brushstrokes (lift your brush always if you have put a dash)! Do not mix the colours, but put two colours simultaneously on your brush to get the Van Gogh effect. The key is: do not paint like you always do, make little dashes!
      Note: when using acrylics - rinse your brushe is okay, but be sure to dry that brush! The paint is the best when it is used undiluted.

      maandag 19 november 2012

      Colourful city


      You need:
      1. white drawing sheet A4 size
      2. pencil
      3. colour markers
      4. black fine marker
      What kind of lines do you know? Straight, zigzag, wavy, spiral, edgy etc.
      Draw on the upper half of the sheet six different lines from left to right. Draw on the lower half a lot of different overlapping  houses. Start with the front row. Be sure to vary in width and heighth and draw several kinds of roofs.

      Choose seven colours. Colour the spaces between the six lines each with a different colour. Use the same colours for the houses of the city. Outline everything with a fine black marker.

      Made by a students of grade 5

      maandag 25 juni 2012

      Sailing into summer

      You need:
      1. white drawing sheet A4 size
      2. pencil
      3. water colour paint
      4. crayons
      5. brushes
      6. jar with water
      Draw a horizon line on the half of the sheet using a green crayon. Draw above a green wavy line, these art the bushes. Draw with pencil two sail boats in the water. Colour them with crayons in bright colors. Draw clouds in the sky using a white crayon and colour them white. Draw waves with white crayon in the water. Paint the sky, bushes and water using water colour paint with plenty of water.   The crayons will resist the paint so that clouds and waves become visible again.

      zaterdag 5 mei 2012

      Sunrise like Roy Lichtenstein

      A lesson is originally from Phyl's site, There's a dragon in my artroom. Check out her site for more!

      You need:
      1. drawing sheet A3 size
      2. tempera in red, blue, yellow, white and black
      3. brushes
      4. jar with water
      Roy Lichtenstein (1923 - 1997) was an American popart artist. He is best known for his enormously enlarged cartoons. After his art studies in New York and Columbus Liechtenstein teached art himself. In his spare time he painted abstract paintings and made parodies of American art from the twenties. In1960 he came into contact with Claes Oldenburg and the style elements from advertising and comic strips. He started to use use grids, dots, black outlines and bright colours, the style who made him famous. From 1962 Lichtenstein used the works of Monet, Picasso and Mondrian as the inspiration for his art and he paints sunsets in their style. Most of his work however is based on advertisements and cartoons.

      Show artwork of Liechtenstein on the digital board and discuss the characteristics: primary colours sometimes with green,  text balloons, raster dots as we know from newspaper photographs and thick black outlines. Show at the end the work 'Sunrise'. Ask students how they can recognize this work as a Lichtenstein.

      The students are instructed to paint a sunrise in the style of Lichtenstein. All Lichtenstein characteristics as discussed so, have to be seen in their painting.

      Artworks are made by students of grade 5

      zaterdag 18 februari 2012

      Patchwork landscape

      By a student of grade 3.
      You need:
      1. white drawing sheets
      2. tempera paint
      3. brushes
      This is an easy lesson in perspective for younger students. Talk about perspective and show the picture of the disappearing railway.
      Do a step by step guide on the blackboard to make this drawing:


      1. Put the sheet in the width for you.
      2. Draw a wavy line on 2/3 of the bottom.
      3. Place a dot in the middle on the top of the sheet.
      4. Draw lines with a ruler from the bottom and sides of the sheet to the dot.
      5. Divide the strips in squares.
      6. Draw houses and trees on the horizon line.


      After this the students can finish their artwork independently. Paint the squares all different and use different patterns. Stpale or paste the artwork on a coloured background.

      donderdag 15 september 2011

      Peaks and valleys

      Made by a student of grade 2

      You need:
      1. drawing sheet A4 size
      2. crayons in bright colours
      3. watercolour paint
      4. brushes
      5. jar with water
      Discuss with the students the difference between hills and mountains. When do we call something a mountain, when a hill? What does the top of hills look like? And what about the top of a mountain - this can be a sharp point or eroded and round, depending on the age of the mountain. 

      Show students step by step how to draw a landscape with hills and mountains. Start with two wave lines Start with two wavy lines on the bottom of the drawing sheet. Draw diagonal lines down from the lowest points. Draw some high mountain peeks behind the hilss and draw a sun behind the peeks.


      Fill the mountains and hills with patterns. Use crayons in bright colours. Each mountain should have its own pattern. Paint the mountains and the sky with watercolour paint. Patterns and lines will resist the watery paint.

      maandag 4 juli 2011

      Pasta and beans landscape


      You need:
      1. cardboard A4 size
      2. glue
      3. several sorts of pasta and beans
      4. pencil
      Students have to draw a simple landscape on their piece of cardboard. Fill the several parts with glue and put beans and pasta on them.
      Artwork made by students of grade 3

      zondag 13 februari 2011

      Patterned landscape

      You need:

      1. white drawing sheet A5 size
      2. black fine marker or Indian ink
      3. coloured paper for background

      Children sketch a simple mountain landscape with grey pencil. Use different patterns to colour the mountains: spheres, lines, triangles, squares, leaves - as different as possible. Patterns can by filled negatively of positively: fill a moutain with circles and colour the space between them with black, so the white circles will remain. Paste the drawing on a coloured background.

      Made by students of grade 3

      zondag 19 september 2010

      Magnificent magnifier

      You need:

      1. drawing sheet A4 size
      2. colour pencils
      3. coloured paper for background
      4. magnyfying glass

      Give students a magnifying glass and send them out to look how things increase looking through it. How does a blade of grass look through the magnifier? Or tree bark? Leaves? Flowers? Insects?

      For this lesson children draw something from nature. Part of the drawing has to be seen through a magnifying glass. This magnifying glass will actually be drawn too. That what is seen through the magnifying glass, has obviously to be much more detailed as the environment.

      donderdag 19 augustus 2010

      Summer memory

      You need:
      1. white drawing paper
      2. watercolour paint
      3. brushes
      4. jar with water
      5. glue
      6. colour pencils
      7. grey or light brown cardboard

      Passed holiday's are always full of memories. Sunset on the beach, a sunny afternoon in the woods or impressive threatening clouds above the sea. What colours belong to that memory? What colours belong to a sunset, to the woods and what colours would you use for the threatening thunderstorm?

      Paint your sheet full with your holiday memories using watercolour paint. Paint sloping strips in different colours. After drying, tear the sheet in strips while following the different colours. Glue your strips with a little space between them on the grey/light brown paperboard. Write a title in beautiful characters and decorate the frame with little holiday memory doodles (shells, clouds, flowers etc).

      Made by students of grade 5

      zondag 4 juli 2010

      Desert sunset

      Made by a student of 8 years old

      You need:
      1. coloured paper
      2. black construction paper
      3. scissors
      4. glue

      By tearing stripes of different colours of paper, children create a sunset. Draw a big cactus on black paper and cut it out. Paste the cactus on the sunset sheet.