donderdag 15 september 2022

Patchwork landscape

by a student of grade 4
 You need:

  1. white drawing sheets
  2. water color paint
  3. brushes
  4. jar with water
  5. crayons
Steps:
  1.  Put the sheet in width for you.
  2.  Draw a wavy line on 2/3 of the bottom using a crayon.
  3. Divide this area in 12 of 15 surfaces by drawing 2 horizontal and 3 o4 r vertical lines. 
  4. Draw with a crayon house and trees on the horizon line.
  5. Draw patterns in the surfaces.
  6. Paint the surfaces in differtent colors.  
  7. Paint house, trees and  air. 
With this lesson you can also practice one-point perspective. Place a dot in the middle from the top of the sheet and draw vertical lines towards this dot. 


bij a student of grade 4


woensdag 14 september 2022

Robots rule

 You need:

  1. drawing sheets
  2. pencil
  3. markers
  4. water color paint
  5. brush 
  6. jar with water
  7. chalk pastels 


Draw a robot. Trace all pencil lines with a black marker. Color the drawing with markers, except the parts that should become metallic look. 
Paint the body of the robot grey (metallic) with water color paint. 
Let dry and color the background with chalk pastels. 


by students of grade 3


dinsdag 23 augustus 2022

Sunflowers in pieces

by Neil

This lesson shows we can do more with our artworks dan stick them on a colored background. Pretty scare to tear or cut your drawing, but the effect is great! 

You need: 

  1. white drawing sheet 
  2. black construction paper for background 
  3. pencil
  4. oilpastels
  5. liquid water color paint
  6. brush
  7. scissors
  8. glue

Draw at least four sunflowers. Be sure three of them are over  the edges.  Color them with oilpastels. Paint the backgrond with liquid water color paint. 

Neil's drawing is torn in pieces. Those pieces have been re-glued for a spatial effect. Before tearing check which side of the paper is best. One side gives nice white tear lines, the other side does not.  

by Lyan

Lyan and Jurre have pasted black strips over their artword, creating a window through which you look outside. 

by Jurre

Elements of art: color, space.

maandag 15 augustus 2022

Escher's tesselations

You need: 
  1. white drawing sheet
  2. thin cardboard 7 by 7 cm
  3. pencil
  4. scissors
  5. color markers 
  6. black marker
  7. black construction paper for background 
Use this book for your lesson: 'Nadir en Zenith in the world of Escher' by Wouter van Reek. Publisher: Leopold. EAN: 9789025876920. 


Nadir and Zenith come to a place that is so strange they can’t even tell if it’s real. Their curiosity is aroused and they look further. And further. Going deeper and deeper into the weird and wonderful world of M.C. Escher, where nothing is quite what it seems. Fortunately Mr Escher helps them find their way. Or is it the other way round?

M.C. Escher
Maurits Cornelis (Mauk) Escher (1898-1972) is born in the Netherlands. After high school he goes to the graphics department of a technical college to become graphic artist. During a trip to the Alhambra in Granada he discovers the Moorish  mosaics. These have a major influence on his later artwork and are the basis for this lesson. 

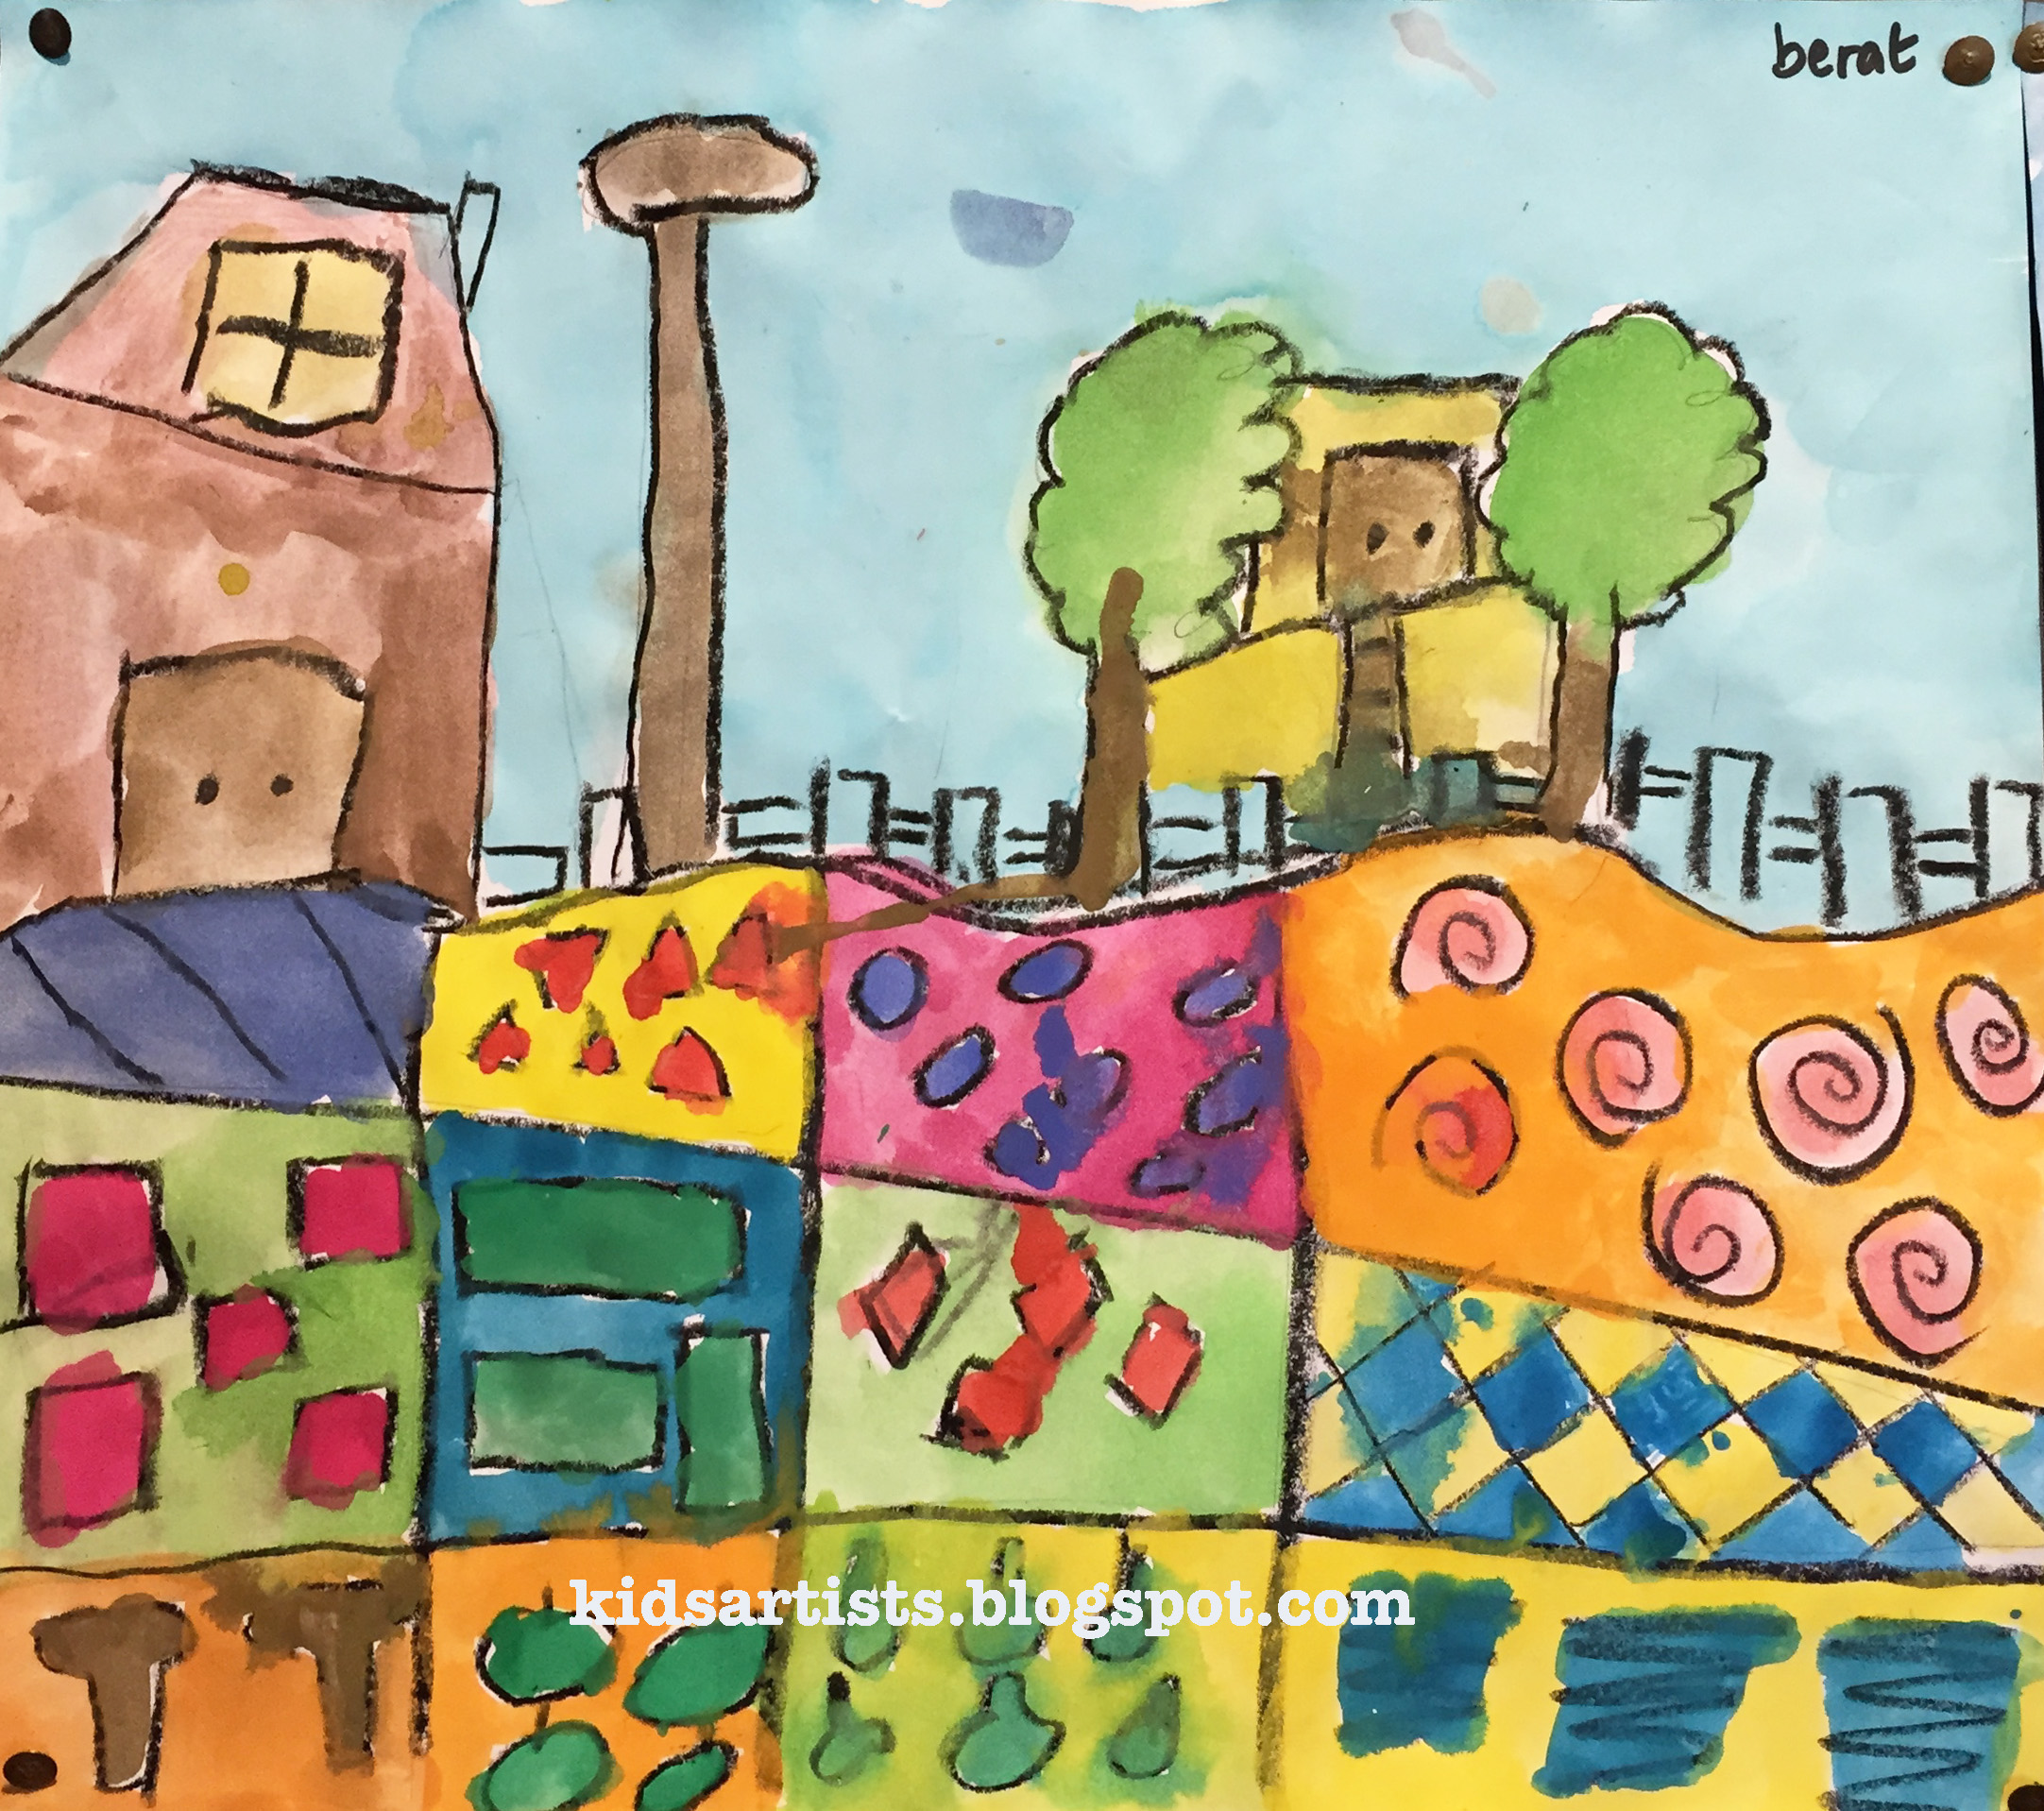
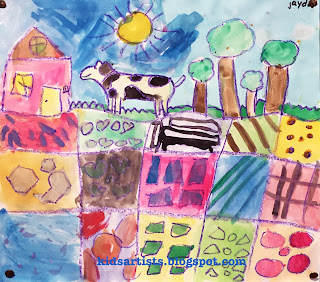
View artworks from Escher and discuss them. Show for example the impossible buildings Belvedere or Waterfall. 
Look at some pictures with animal tesselations and talk about symmetry = two objects are each other's mirror image. You can show examples of the three basic types of symmetry. 

What do you see? How would Escher have made these prints? In which pictures do you see he has made different animals? And in which prints do you see the same animal? Where are the animals mirrored? Where do you see all animals heading in the same direction? Can you mention other symmetrical things? 


What should you do? 
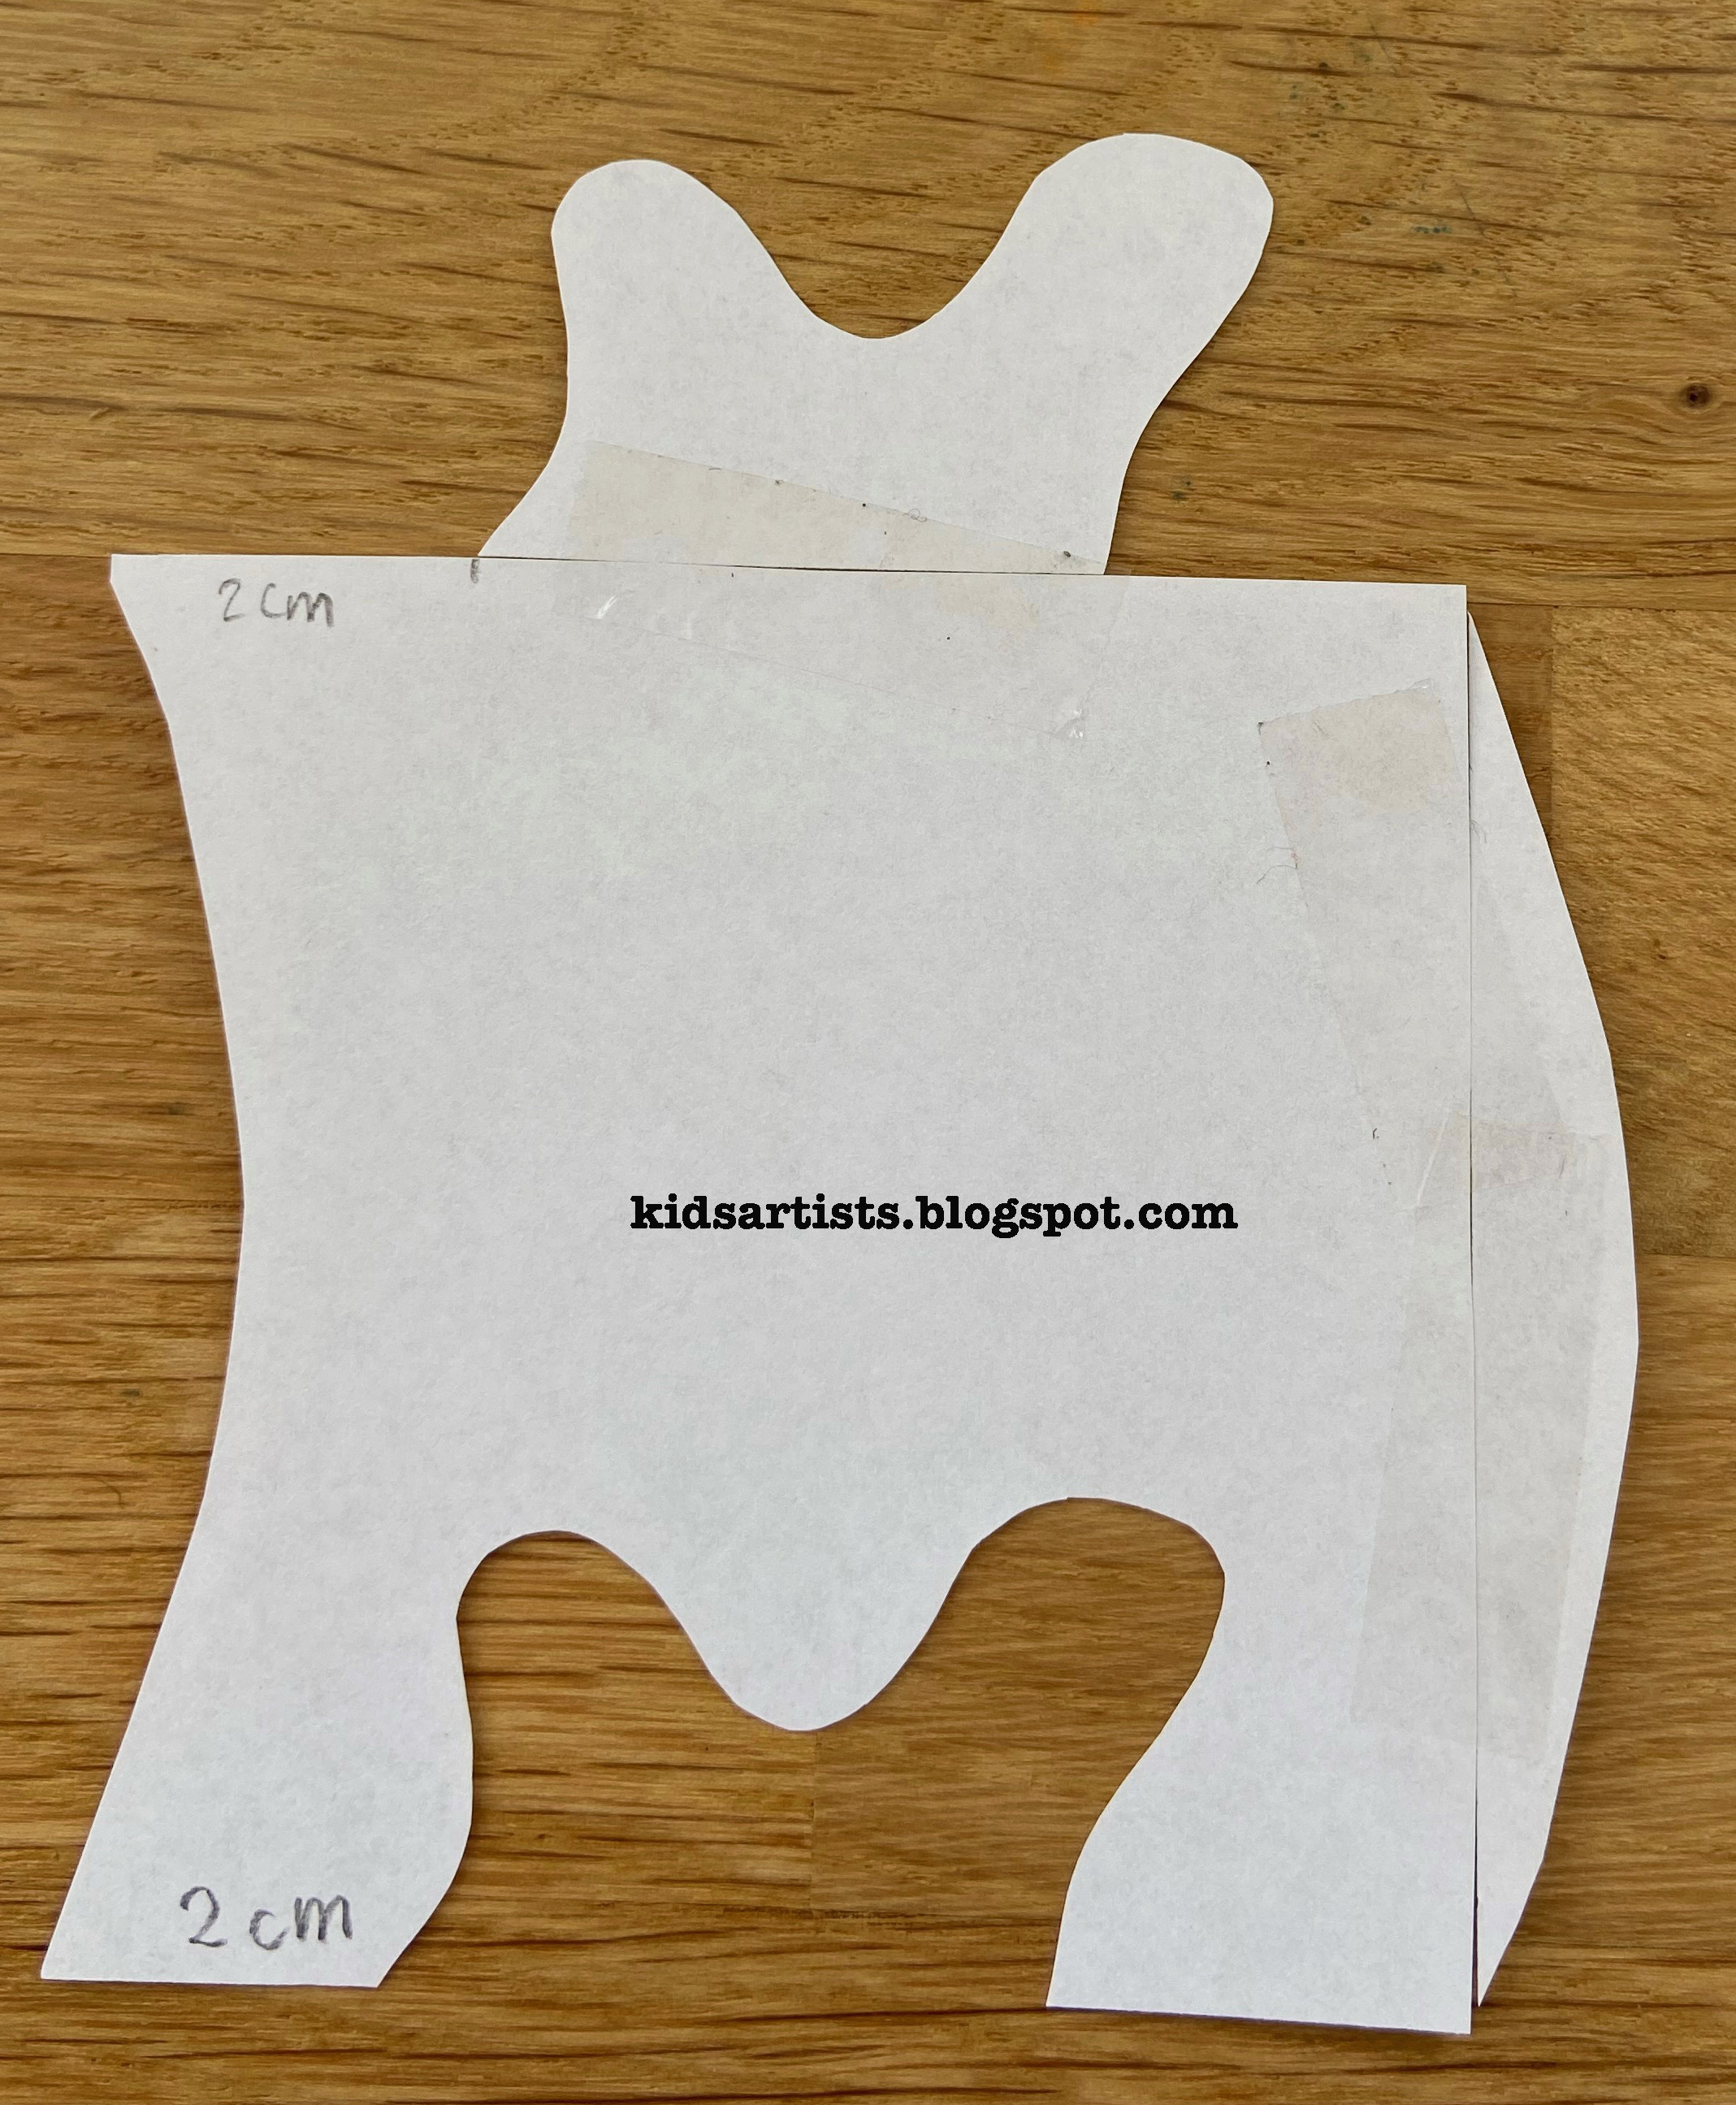
1. Take a piece of cardboard from 7 by 7 cm. Draw a shape on two following sides and cut them out. 

2. Stick the cut pieces on the opposite site of the cardboard with tape. Make sure the distance from the edges is the same. 

3. Trace this shape with a pencil on a drawing sheet. Move the shape and trace again. 

4. Fill up your sheet completely, so also with half animals along the edges.  

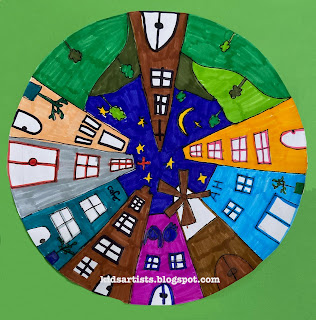
5. Search for an animal in the shape. Draw details.  

6. Choose two colors and color the animals alternately. Outline the shapes with black marker and draw details with the black marker too.  

7. Stick your artwork on a  black sheet. 

zondag 14 augustus 2022

Landscape like Ton Schulten


You need:

  1. drawing sheet 
  2. tempera paint in primary colors, black and white  
  3. ruler
  4. pencil
  5. brushes
Ton Schulten (1938) is a Dutch painter, born and living in the small town Ootmarsum. He worked as a graphic designer and decided in 1989 to devote himself entirely to painting. His main source of inspiration is the landscape of Twente, a region in the east of Holland. This is a semi-open landscape that, due to the planting of hedges and wooded banks, looks like a stage with wings.  

Show artworks from Ton Schulten and discuss them.
  • Schulten's use of colors  
  • horizon line
  • the 'curtains' on the sides - the picture is darker there than in the middle
  • simple shapes
  • divided in rectangles
by students of grade 6

What should you do? 
You're going to draw a landscape like Ton Schulten. First draw a horizon line on about half of the sheet. Draw one or some simple houses. Then draw some draw trees. Divide the drawing with horizontal and vertical lines into small rectangles.  
Paint the rectangles with tempera. Mix your own colors, starting with the brightest one. For example: start with white and add a drop of blue to get light blue; add more drops to get a darker blue.  
Perhaps you can draw 'curtains', just like Ton Schulten: the sides are darker than those in the center. 

Elements of art: shape, line, color, nuance.  

maandag 28 maart 2022

Matisse meets Haring


In this lesson we combine Keith Haring and Henri Matisse.

Benodigdheden:

  1. white drawing sheet
  2. colored construction paper
  3. black construction paper
  4. scissors
  5. glue
Show some of the later artwork from Matisse (fauvism, 1869-1954), his cut-outs and discuss them. What do you see? What shapes did Matisse use? What are the organic shapes? And the geometric shapes? What's the difference between them? What colors do you see?

Look at the human figures in Keith Harings artwork (popart, 1958-1990). What stands out? How are human beings drawn? Which parts of the body do you see, which parts nog? How do you see that people are moving?

What to do? 

  1. Cut organic and geometric shapes from colored paper.  
  2. Cut a human figure from black paper,  (do not draw first!). Be sure you can clearly see he's moving.  
  3. Arrange the geometric and organic shapes on the white sheet. Overlap is allowed.   
  4. Search for a good place where the human figure fits well and where you can see he's moving, for example because he steps on a geometric shape or dances between the organic shapes. 
  5. Satisfied about your composition? Then glue on all the cut out shapes .

vrijdag 18 maart 2022

Circle City


You need: 

  1. white drawing sheet
  2. compass
  3. ruler
  4. pencil
  5. markers
  6. colored sheet
  7. glue

Explain the one-point perspective: objects that are further away appear smaller. If we draw a street towards the horizon, it narrows and trees get smaller. 

In one-point perspective you draw all lines parallel to the viewing direction to one point. You literally put a dot on the horizon. 

What to do? 

  • Draw a circle of 20 cm in diameter using the compass. Mark the hole in the center with a dot.  
  • Draw lines form the edges of the circle to the dot in the middle, using ruler and pencil. 
  • Draw buildings in different heights using the lines.  Draw doors and windows. 
  • Color with markers. Outline everything with a fine black marker. 
  • Cut the circle and stick it on a colored sheet. 

Art work made by students of grade 4. 

dinsdag 15 maart 2022

Henna hands

 You need:

  1. white drawing sheet
  2. colored sheet
  3. Indian ink or fine black marker 
  4. glue
  5. scissors 

Henna art is making temporary decorations on the skin using dye from dried henna leaves. Henna decorations are applied during festive occasions in North-African and Asian countries. Used symbols are those of strength, luck, fertility and protection. Patterns and symbols vary per country.  

Trace your hand on a white sheet. Decorate with patterns. Cut oud and stick on a colored sheet. Cut the hand again with an edge of approximately 1/2 cm.