
- black construction paper A3 size
- tempera paint in blue, green, black and white
- brushes
- jars with water
Medusa, a woman from Greek mythology, lived in a country where the sun never shone. Medusa begged goddess Athena to be allowed to move to a sunny region, but Athena refused. Medusa told everywhere that Athena would not let her go, because otherwise no one would pay attention anymore to the beauty of Athena.
In another version of the myth Medusa would have made Athena mad because she kissed Poseidon in Athena's temple. Athena took revenge by changing Medusa's beautiful hair into a nest of snakes. Athena also ensured that everyone who looked at Medusa would freeze immediately.
Finally Medusa is killed and decapitated by Perseus, with help from Athena. From Medusa's blood the winged horse Pegasos and a giant are born. After this Medusa's head is offered by Perseus to Athena. Athena put the head on her shield to freeze her enemies.
.jpg)
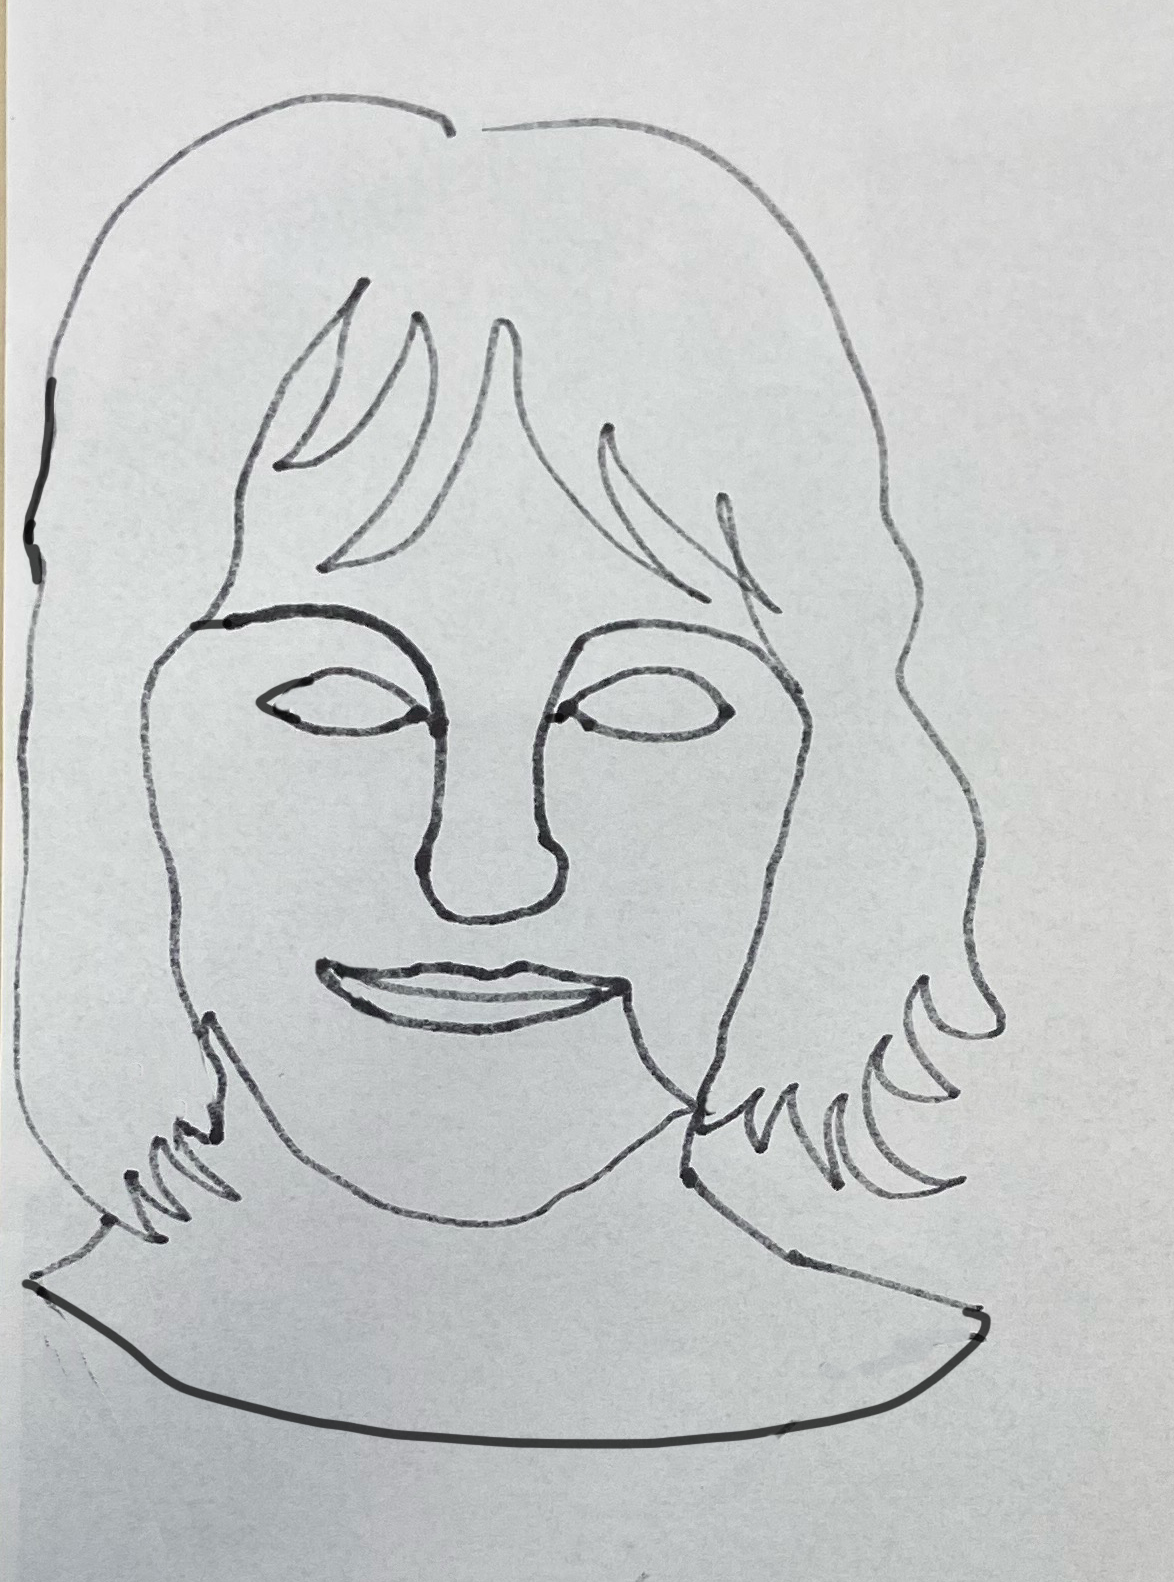
- Draw Medusa's head with a pencil on the black sheet.
- Choose only cool colors to paint face and snakes.

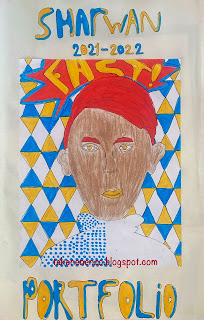
Artworks made by students of grade 5 and 6.


.jpg)
.jpg)


.jpg)

.jpg)
.jpg)
.jpg)
.jpg)
.jpg)
.jpg)

.jpg)


.jpg)

+(2).jpg)
+(2).jpg)