Paul Klee (1879 – 1940) is a German/Swiss artist. His work straddles the line between figurative and abstract. Klee painted landscapes, portraits, animals, mythology, mysterious machines. Does his work belong to cubism, expressionism or surrealism? He brought something from every art movement. Klee looked for patterns and motifs in all kind of art styles: African art, Islamic decorations, clothing and also form children's drawings. Klee left behind more than 9000 works of art.
Cat and bird, Paul Klee, 1928
What do you need?
- drawing sheet
- pencil
- black marker
- watercolor paint
- pencils
What do you see?
Discuss Klee's painting Cat and bird.
- the head of a cat with a bird above his eyes. What would this mean? Does the cat dream of its prey?
- left side of the head is wider than the right side
- large eyes with vertical pupils
- one eye is larger than the other
- warm colors, except the eyes
- bright pink nose in the shape of a heart
Step 1: Fold the sheet in four. Scetch a W.
Step 2: Put a dot on the fold and and draw a slightly curving line to it from both sides: the top of the head.
Step 3: Continue the lines from step 2 downwards.
Step 4: Draw the eyes from the center to the side. Draw pupils.
Step 5: Draw nose, whiskers and the little bird.
Step 6: Color cat and background using water color paint. Trace the outlines with a black marker.
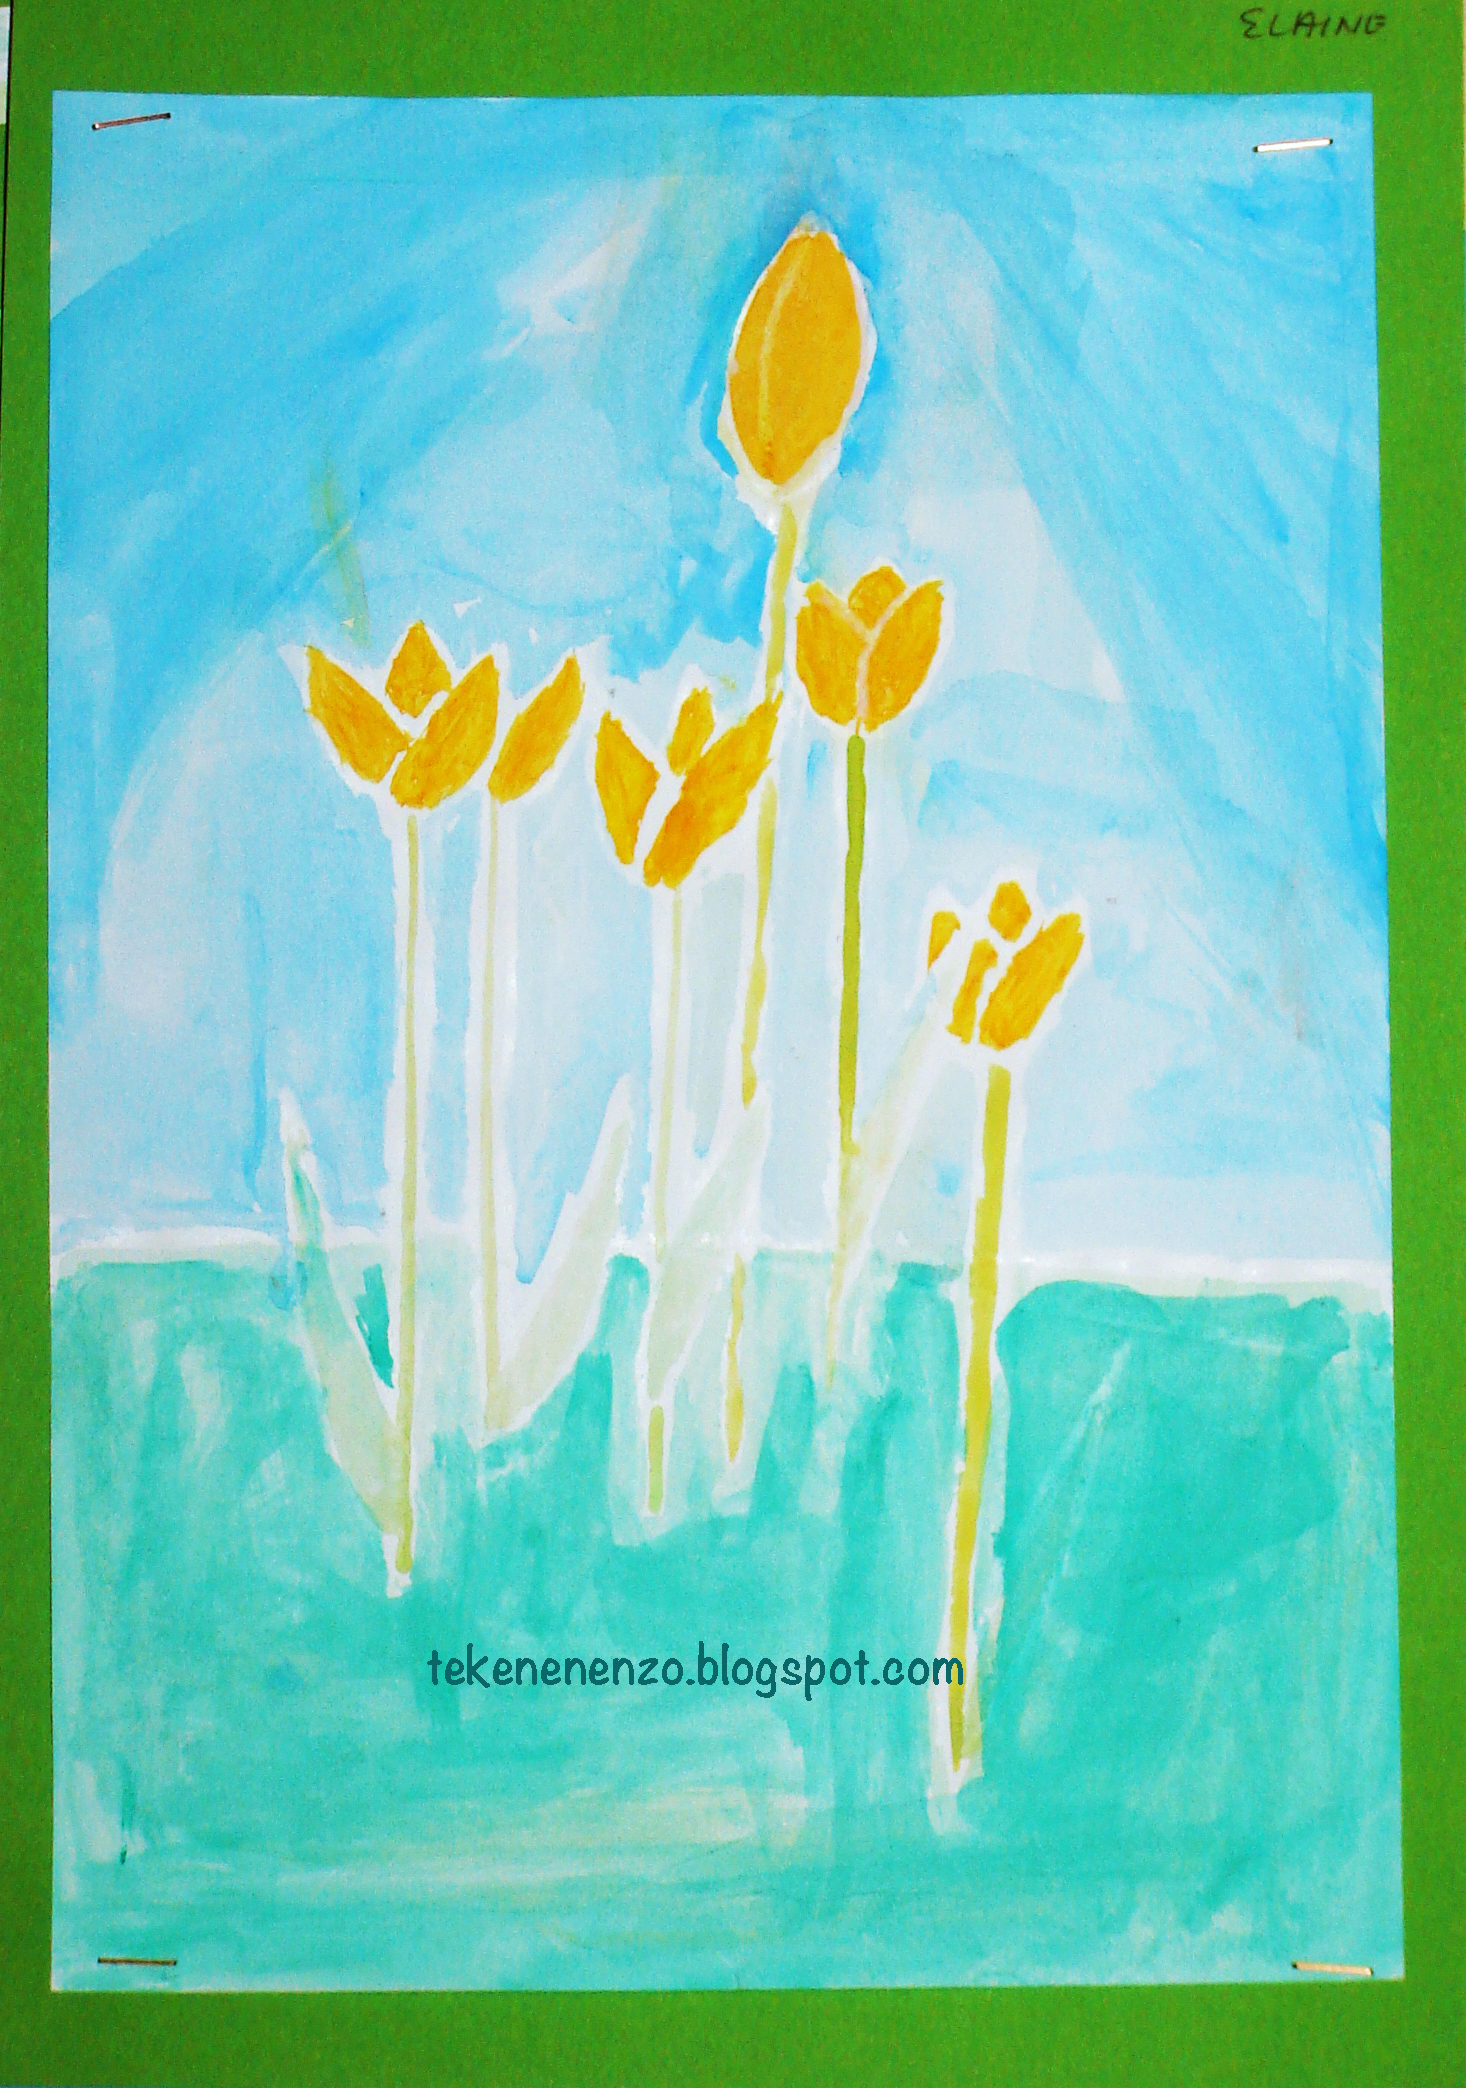
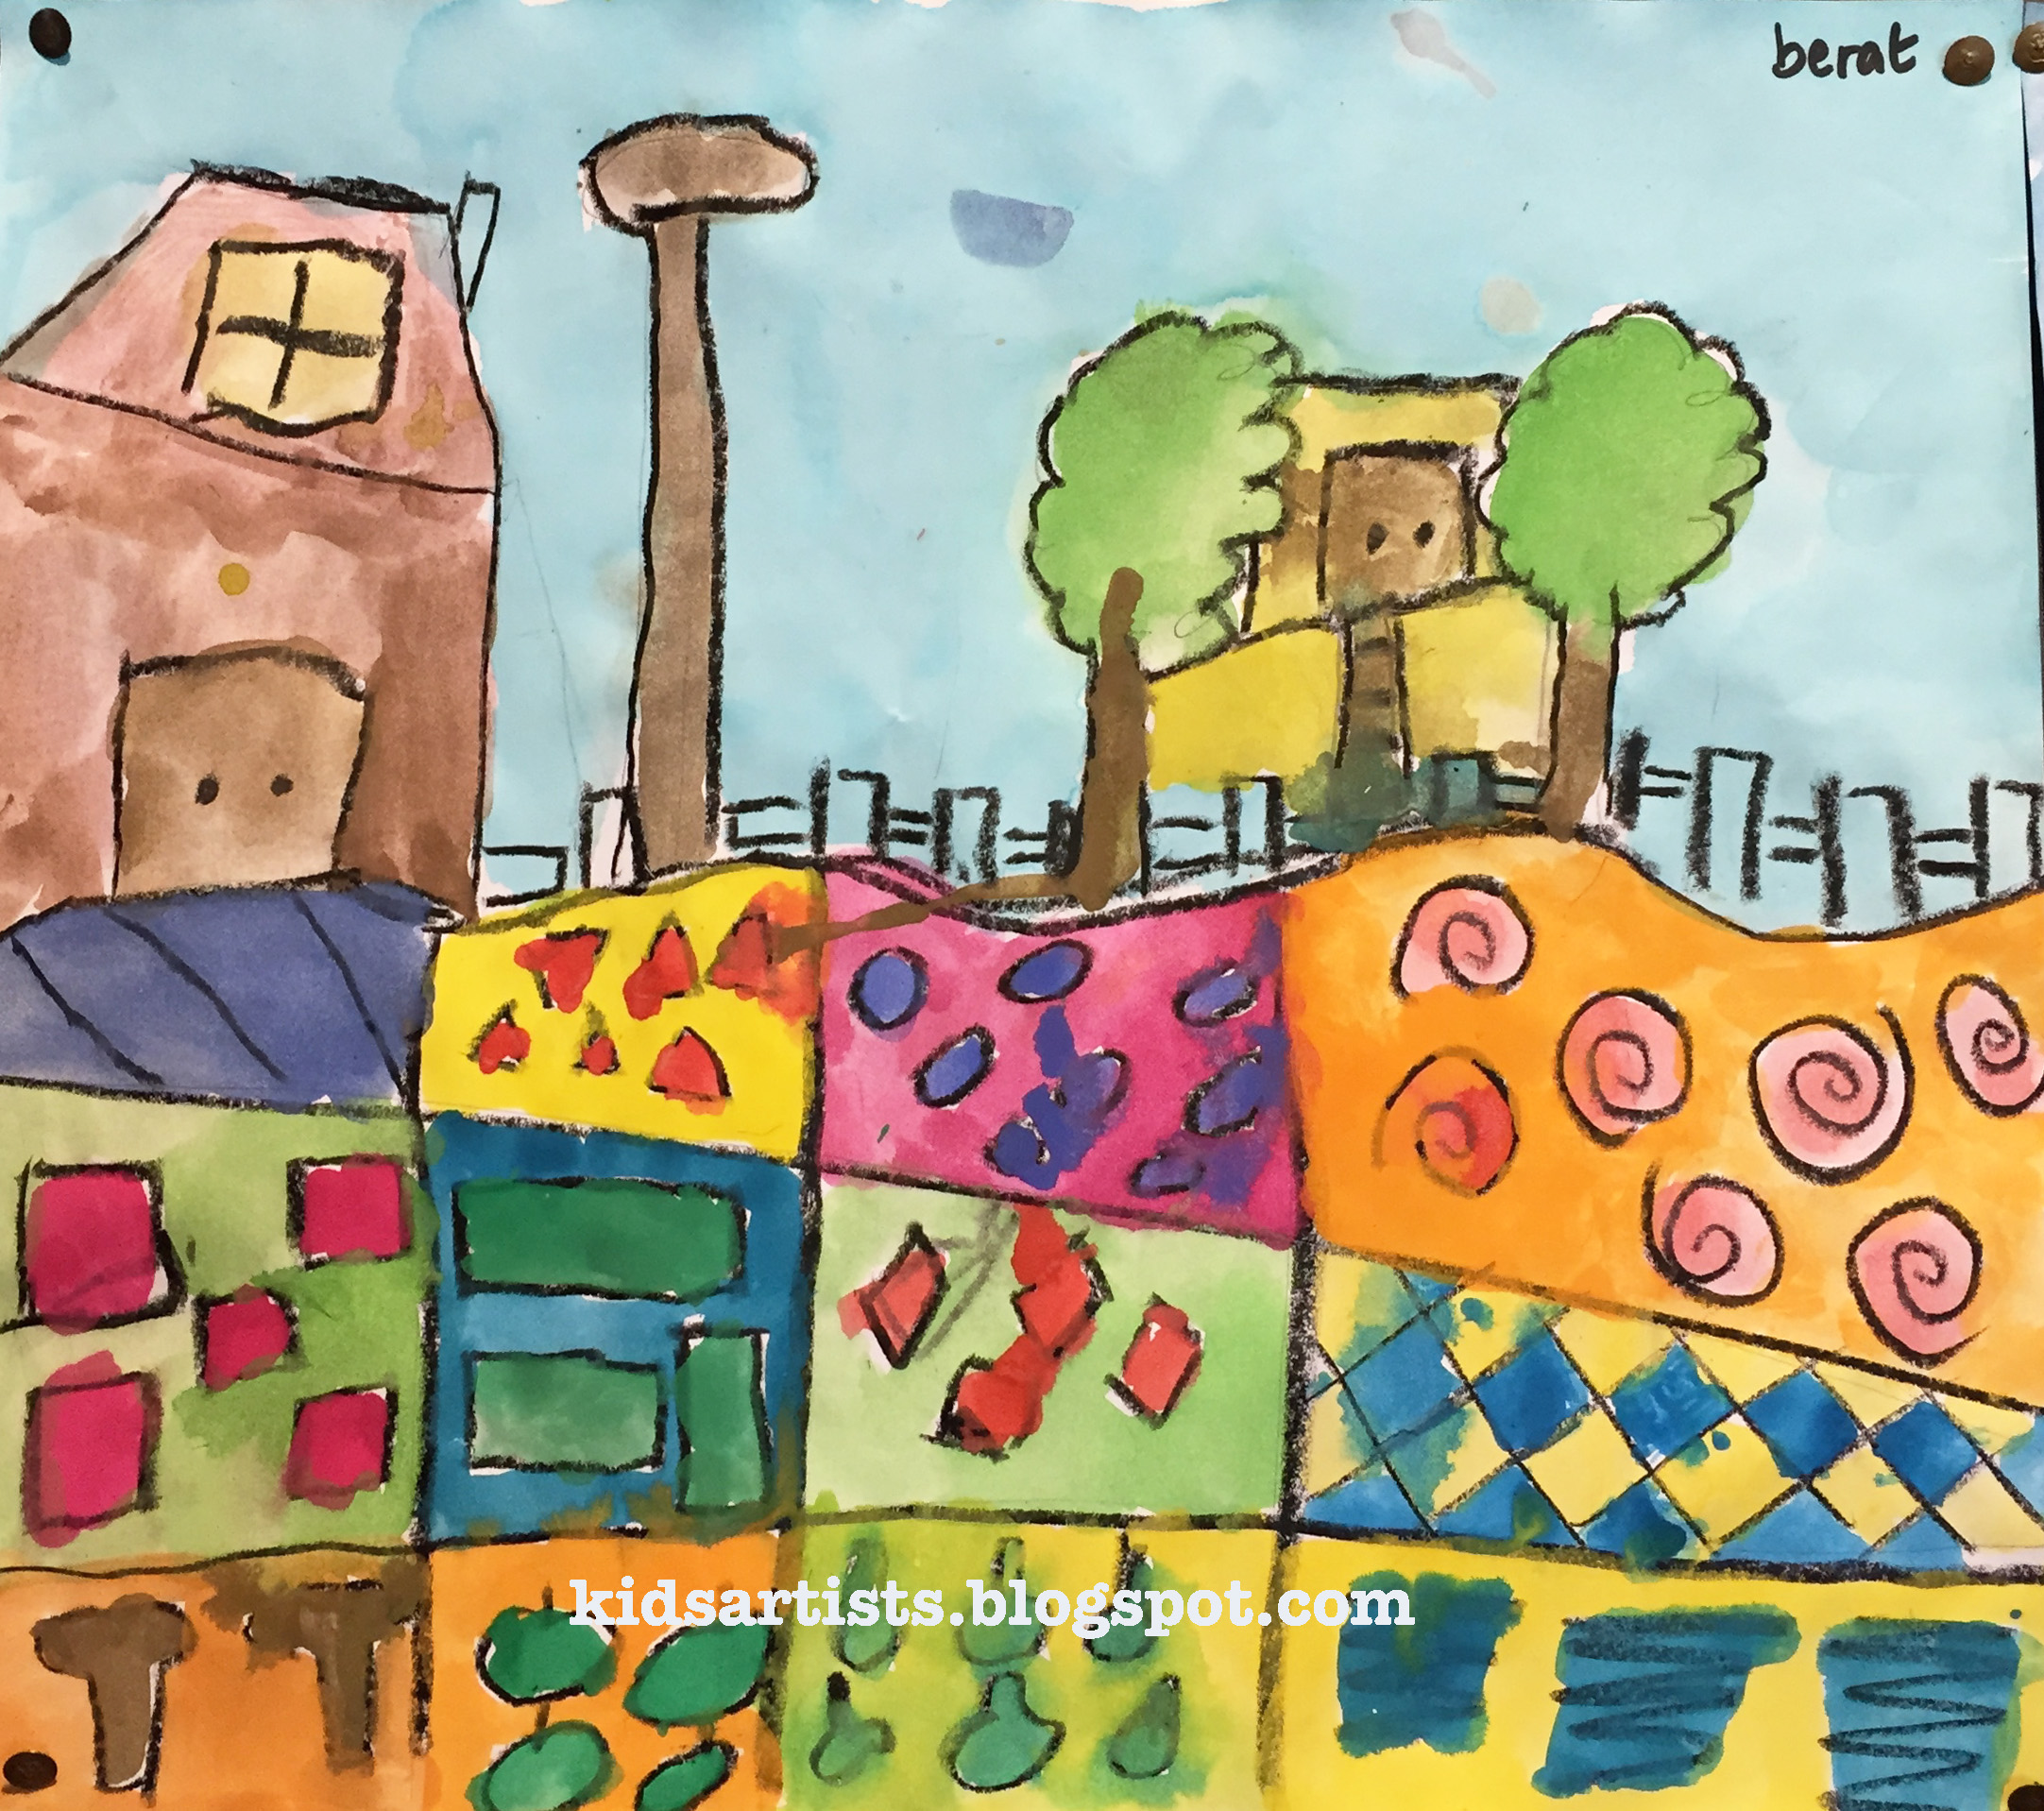
Drawings made by students of grade 1, 2 and 3.
Step by step idea: Blowing Rock Museum, NC.


.jpg)

.jpg)

.jpg)
.jpg)


.jpg)