
After summer holiday it's fun to draw objects you found on the beach: shells, starfish, crabs etc.
What do you need?

- white drawing sheet
- aquarel pencils or watercolor paint
- brushes and water
- black paper
- scissors and glue
- black fine marker

What should you do?
- Divide the white sheet in four strips of 7 cm.
- Draw horizon lines in the strips.
- Draw things you may have found on the beach and sketch as lightly as possible.
- Color the shells with watercolor paint or aquarel pencils. Make shades by diluting the colors more or less.
- Paint the beach yellow/gold and the air light blue.
- Let dry.
- Outline shells and horizon line with a fine black marker.
- Cut the four strips and paste them with 1 cm between on a black sheet.
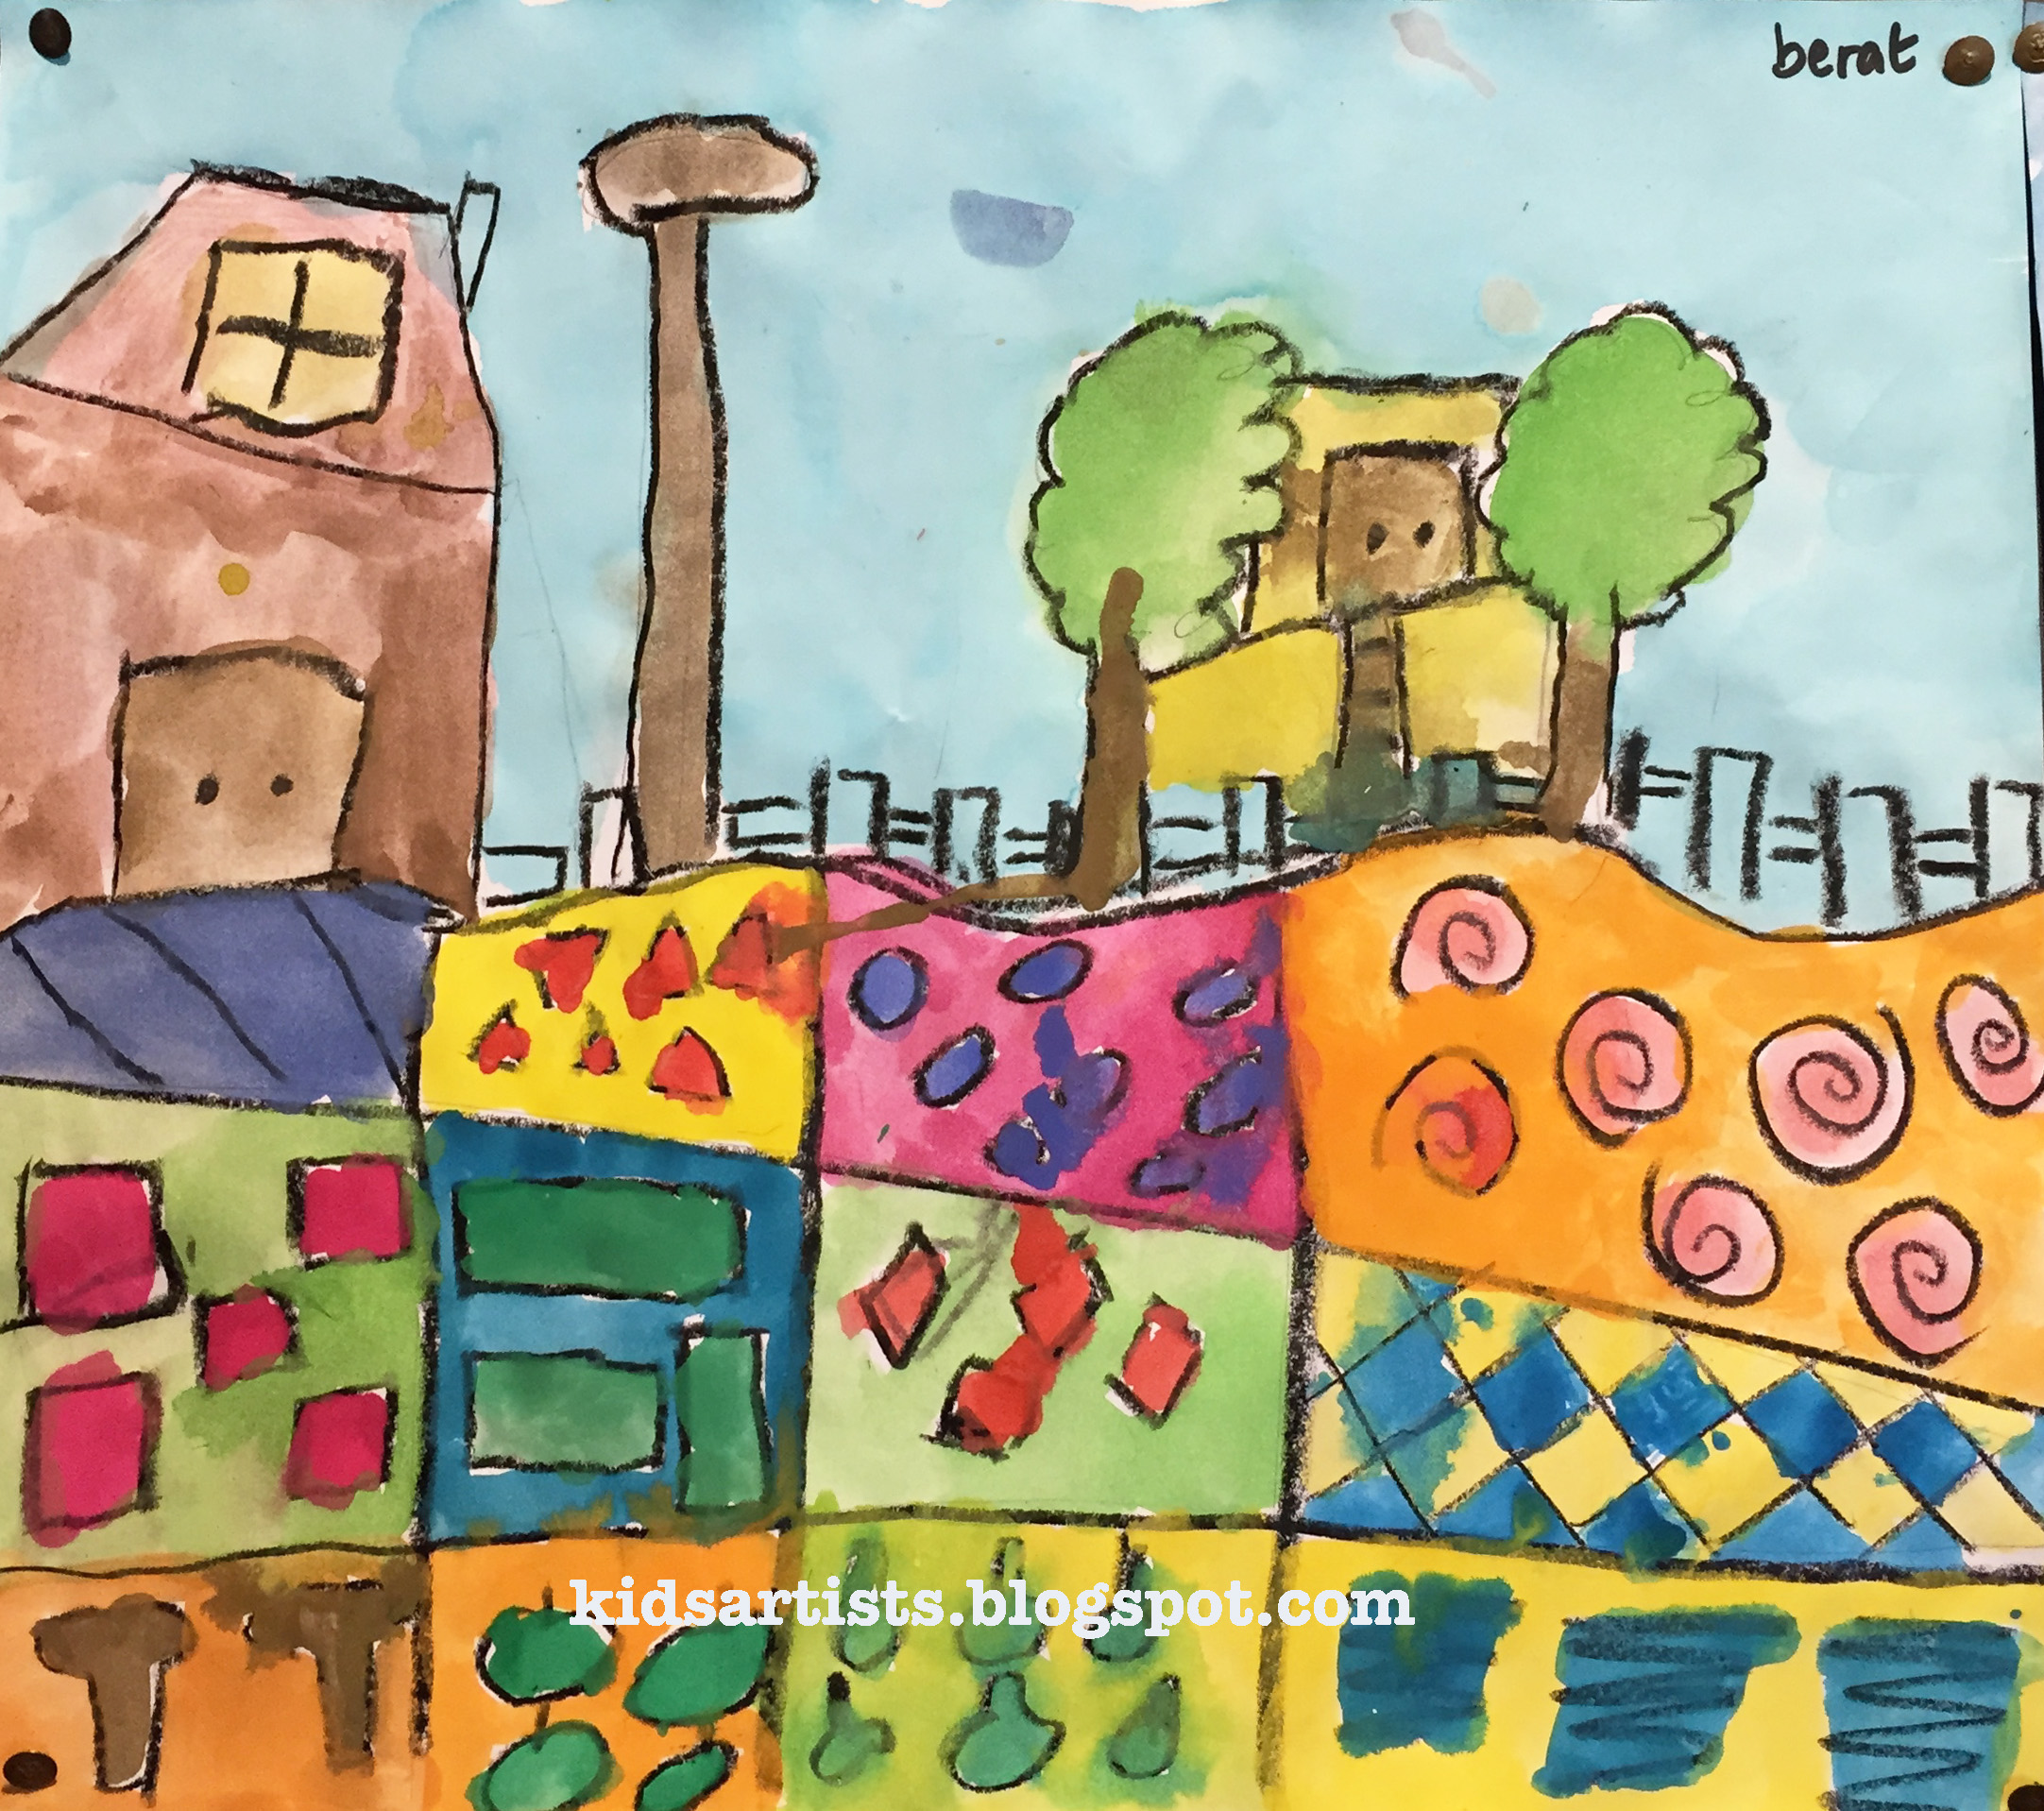
Artworks made by students of grade 6.


.jpg)
.jpg)
.jpg)
.jpg)
.jpg)


.jpg)
.jpg)


.jpg)
.jpg)


