I came across this great lesson for our first graders on
Deep Space Sparkle. What a fun our students had, making these cute little birds in the style of James Rizzi!
James Rizzi was born in 1950 in Brooklyn. He studied art in Florida (Gainesville), where he started experimenting with printing, painting and sculpting. Rizzi’s work often shows his birthplace New York. His paintings look sometimes childishly naive, with the bright colours and brilliant gaiety. In the art press Rizzi is often described as "Urban Primitive Artist '. Rizzi himself says he is influenced byzelf Picasso, Klee and Dubuffet.
Show some paintings of Rizzi and discuss the characteristics:
- bright colours
- no gradations within colours
- evertything is outlined with a black marker
- the artwork is full and busy
- background is full and busy too
You need:
- white drawing sheets A4 size cut lengthwise
- markers
- scissors and glue
- blue cardboard A1 size for background
Discuss birds in Rizzi's artwork (google onRizzi + birds) and ask students if the typical Rizzi features are in the bird artworks too.
The goal for this lesson:
Use oilpastel to draw a bird just like Rizzi did. Use watercolour paint and paint the bird in one or two colours. Paint the background with several colours.
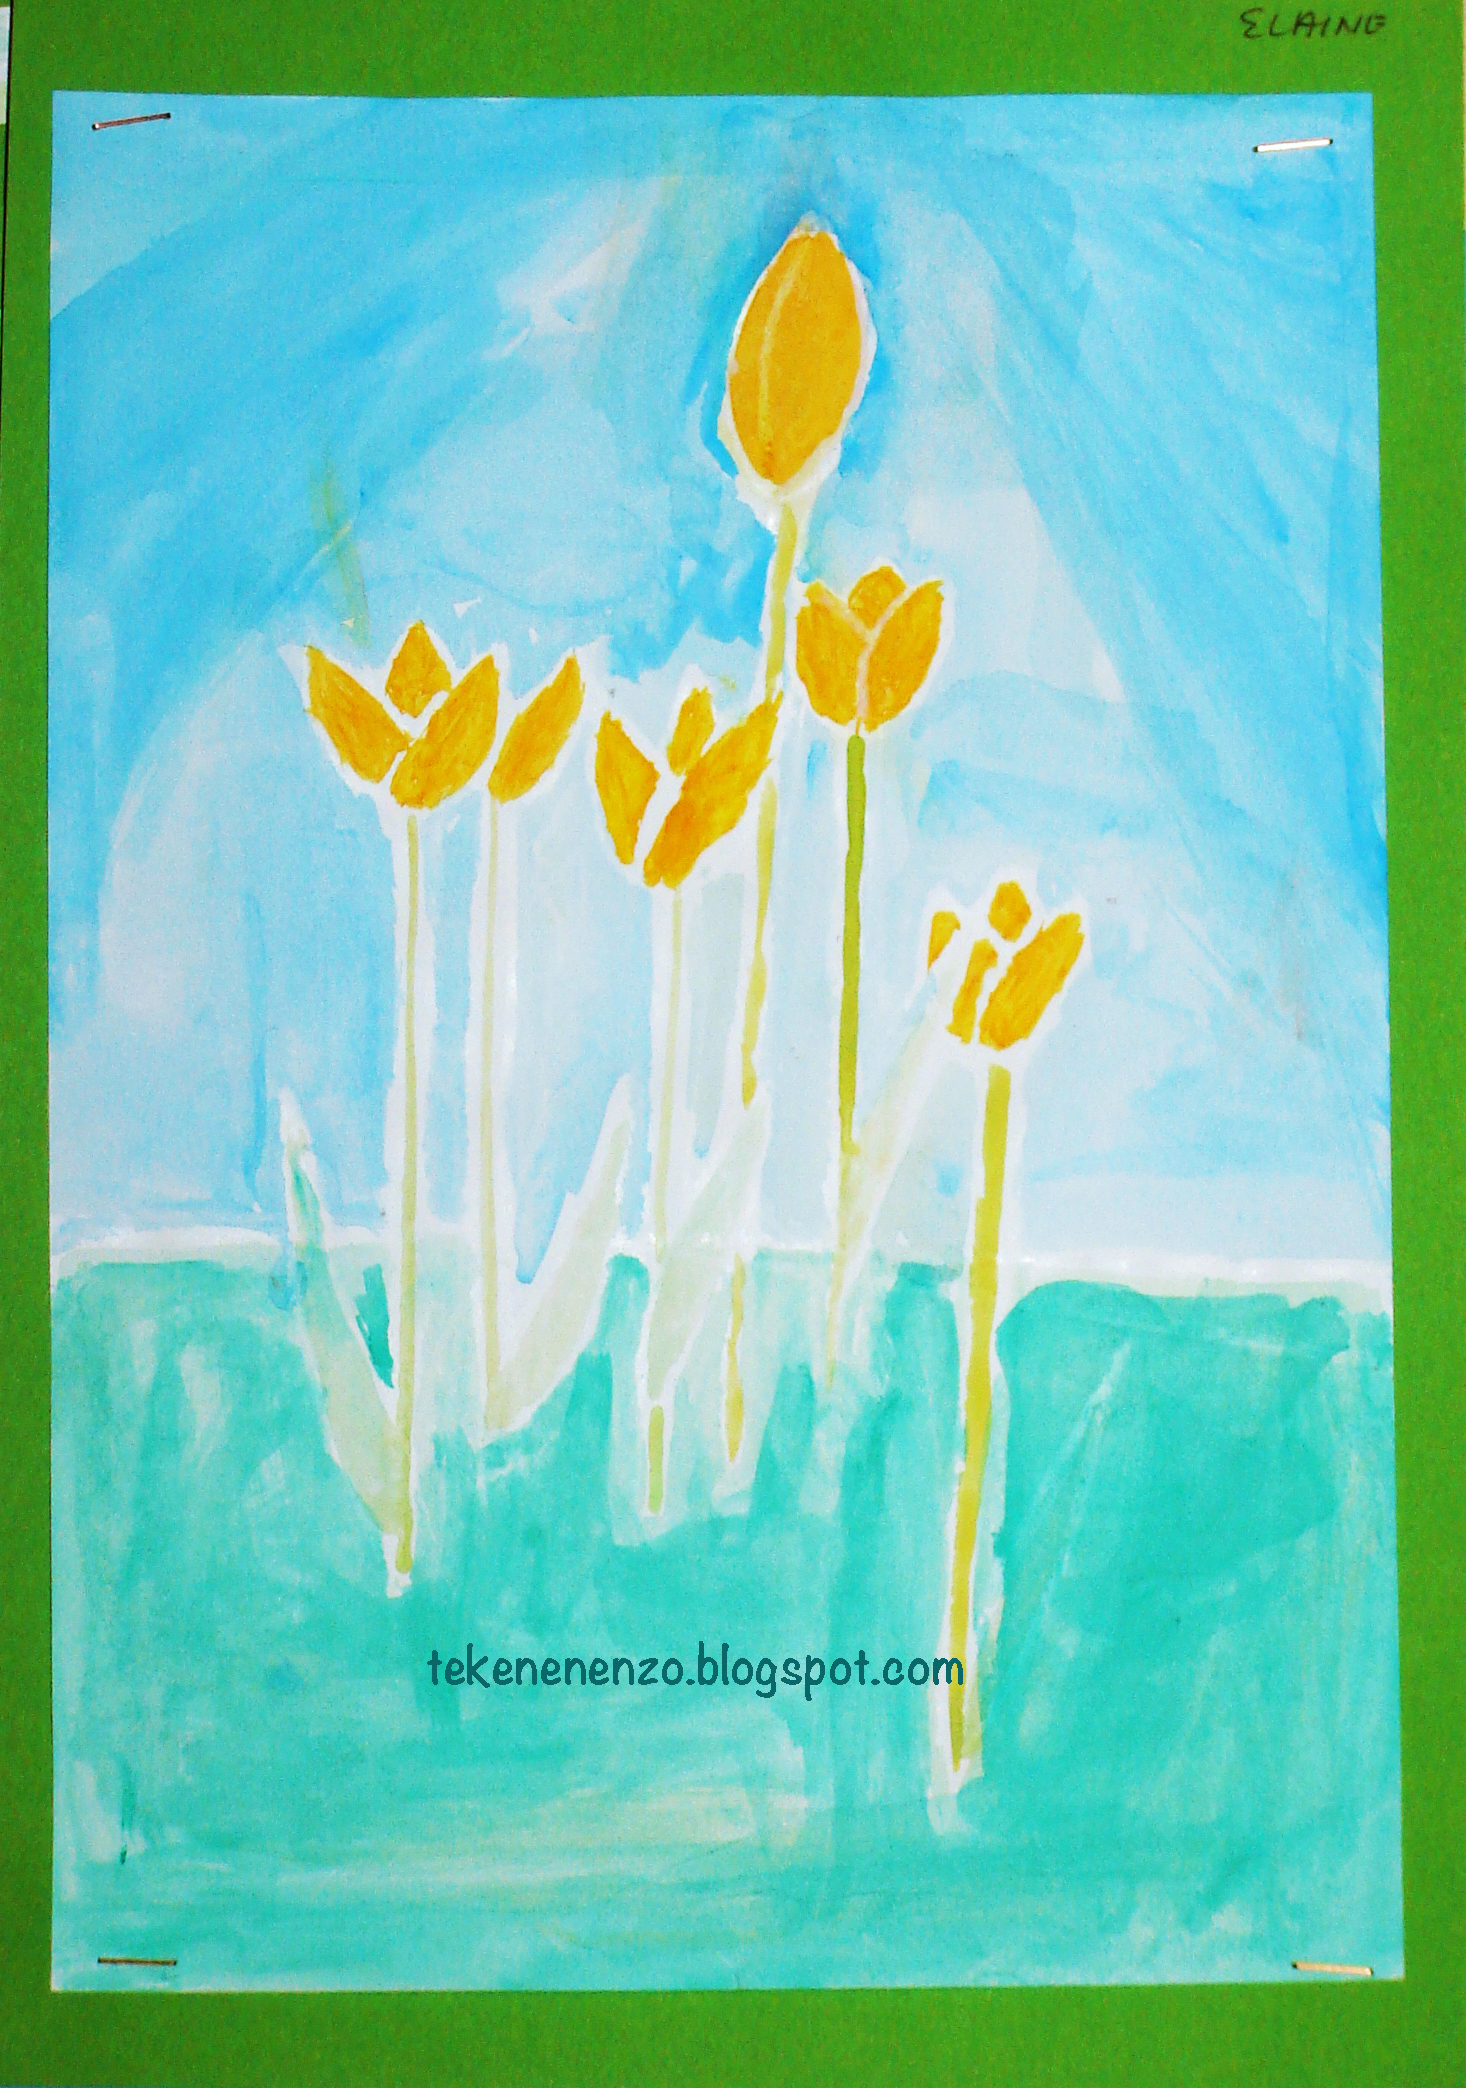
Artworks made by students of grade 1


.jpg)
.jpg)
.jpg)


.jpg)


.jpg)
.jpg)
.jpg)
.jpg)
.jpg)
.jpg)
.jpg)
.jpg)
.jpg)
.jpg)
.jpg)


