zaterdag 15 april 2023

Cherry blossom tree

You need:

  1. drawing sheet
  2. tempera paint in red and white 
  3. crayons
  4. liquid water color paint
  5. brush
  6. broccoli 

Step 1
Draw a tree with crayon.  


Step 2
Paint the background with diluted liquid water color paint and let dry.  


Stap 3
Stamp blossom with pieces of broccoli.  
 

Source: www.gluedtomycraftsblog.com 

donderdag 13 april 2023

Tulips; spring is coming!

You need:
  1. a bunch of tulips
  2. vases or glasses
  3. drawing paper A4 size
  4. white crayons
  5. water paint
  6. brushes
  7. jar with water
  8. colored paper for background
  9. glue

What does a tulip look like? What can you tell about the stem and the leaves? What do the petals look like? 
Every group gets a vase with some tulips. Students todraw a horizon line about a third from the bottom. 
Draw tulips with a white crayon. Look carefully at the tulips in the vase. The tulips must overlap.
Colour them with water paint, the white lines will remain. Paint the lawn and the air. Stick the artwork on a colored background.


Painting without using your hands


You need: 

  1. big drawing sheets
  2. brushes
  3. tempera paint
  4. liquid water color paint
  5. tape

Painting without using your hands is quite a challenge! You can paint with your feet or mouth. We tried both. 

Painting with your feet
Put tables aside, newspapers on the floor and stick drawing sheets on top. Very important: take off the shoes in the hallway and leave them there 😀

Place a container with three colors tempera paint between two students. A beautiful portrait is too much, so ask them to paint simple lines or shapes. 

Painting with your mouth 
This is less difficult. Cover the tables with newspapers. Place jars with diluted water color paint and brushes. Students may paint what the want. You may also give them a simple goal: paint rectangles in different colors. 


dinsdag 11 april 2023

Japanese cherry blossom on a plate

You need:

  1. paper plates
  2. acrylic paint: brown, green, red, white
  3. brush
  4. crepe paper: pink, white, red
  5. glue 
This lesson about the Japanese cherry blossom is an old one, but now the blossoms are made on a paper plate. Too pretty to use for dinner! 
Branches are painted, leaves too. Not too big, because leaves only grow well when the blossoms are gone. 
Blossom is partly painted and partly made of crumpled crepe paper. 


vrijdag 31 maart 2023

April showers will bring us flowers

You need:
  1. white drawing sheet
  2. water colour paint
  3. ruler
  4. white crayon or oil pastel
  5. paint brush
  6. water
Characteristicly Dutch weather in spring is a weather type with showers, alternated with sunny periods. We call those typical spring showers 'Maartse buien' (March Showers), while English meteorologists speak about 'April showers who bring us flowers'. 

In this lesson children draw spring flowers (tulips, daffodils etc.) during a rain shower.
 
Sketch some spring flowers on a white sheet. Make sure your lines are extremely thin. Use your ruler to draw white crayon lines with one centimeter between them. Make sure your crayon has a sharp point. Paint your drawing with watercolour paint. Use a lot of water to make bright colours. The crayon will resist the water paint, so your shower will be very clear!

donderdag 30 maart 2023

Like Romero Britto

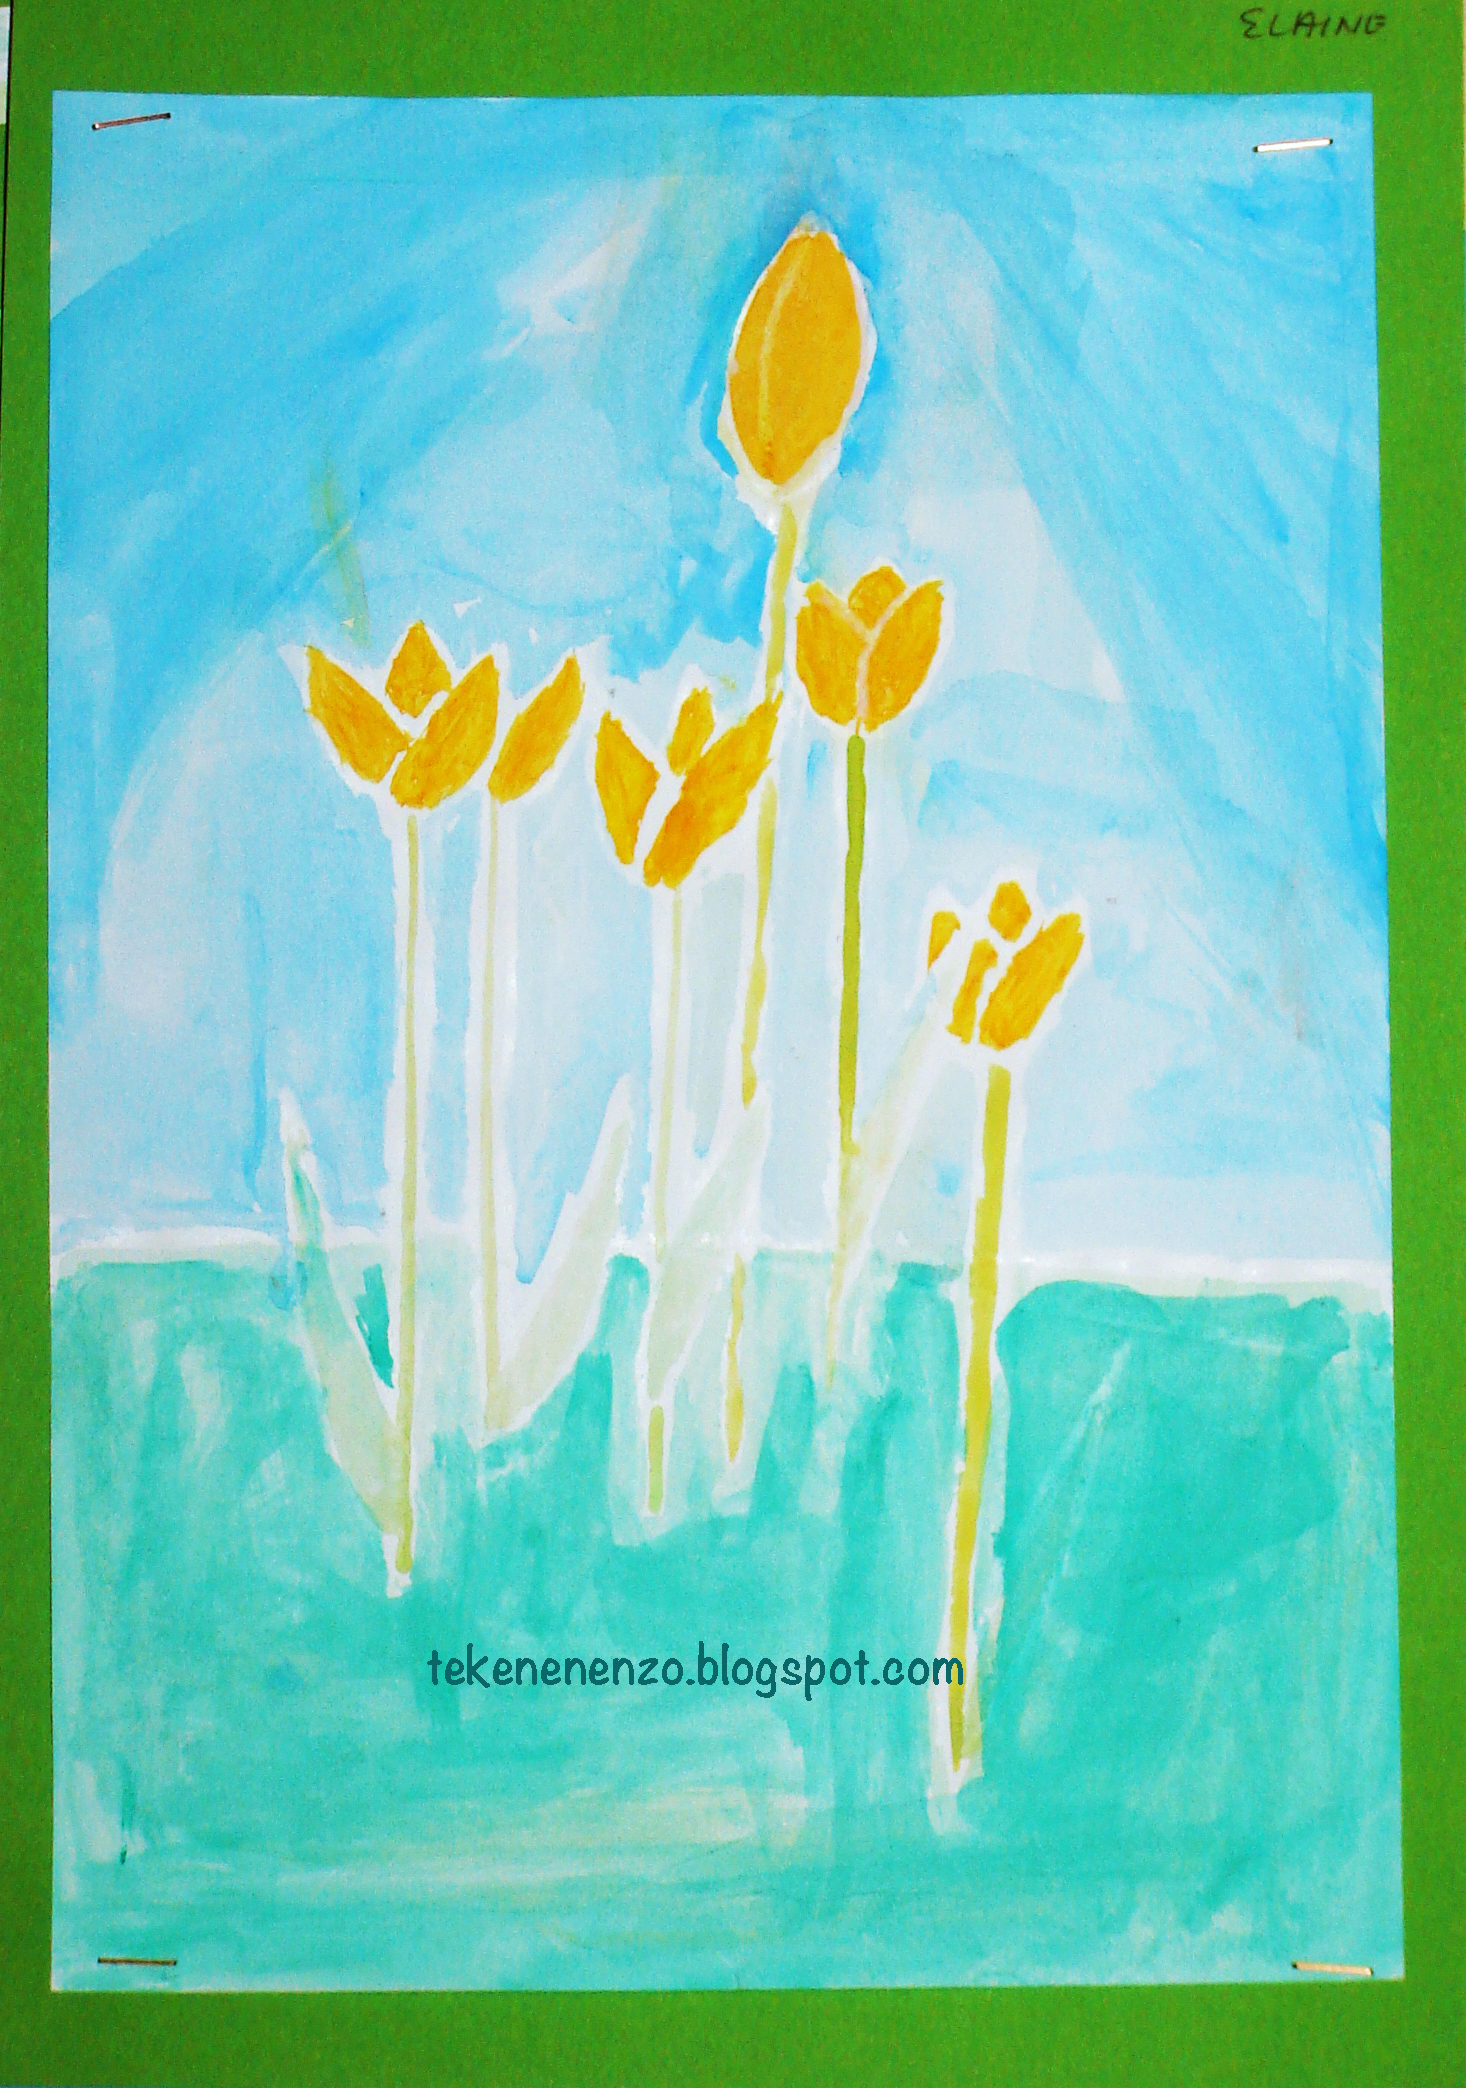
Dutch tulips in the style of Romero Britto, by Malou, grade 6

This was one of my most successful lessons so far; students enjoyed it and the results were amazing. But hello copycats: Britto never painted tulips! So please don't copy this lesson (I saw a lot of them already on Pinterest), but create one yourself. Or at least: mention your source, kidsartists.blogspot.com! 

You need:
  1. white drawing sheet A4 size
  2. permanent marker
  3. colour markers
  4. ruler
Romero Britto is a Brazilian artist. He was born in 1963 in grew up an extremely modest lifestyle amongst eight brothers and sisters in Recife Brazil. His drew and painted on any scrap of newspaper or cardboard he could find and filled them with colourful images of a beautiful world.  
In 1983 Britto travelled to Europe to study the old masters. After this trip, he traveled to the USA where Pop Art was flourishing. He opened a gallery in Miami. In 1989,Absolut Vodka selected Britto to design an artwork with their famous logo. From that moment the name Britto was known to a greater public. His artwork are now represented in galleries and museums across five continents.
Paris in the style of Britto, by Emmy grade 6

Look at artwork of Britto on his gallery. Discuss the salient features: bright colours, simple shapes, the work is divided into sections that are filled with patterns, thick black outlines. Discuss how you to see the difference between the drawn picture and the background. Ask about the stylistic characteristics and where to classify this artist (Pop Art, Cubism).

The students have to make a drawing with a topic of their choice. No details, but only the main lines. Divide the drawing surface with pencil and ruler in several sections. Trace all lines with a waterproof black marker and then colour them with markers in the way Britto did.

For the background we stamped circles with toilet rolls on a coloured sheet and pasted the artwork on it.
Flowers in the styleo of Britto, by Nadia grade 6

Op art around an eye


You need: 

  1. drawing sheet 20 by 20 cm
  2. ruler
  3. pencil
  4. post it 
  5. black markers

Step 1
Draw an eye in the middle. 
Draw lines from the eye to the edges. Important: this must be an EVEN number of lines, otherwise you won't be able to color a checkerboard pattern later.  


Step 2
Put a post-it on the eye. Be sure there will be place for another one later.  Draw dots on the cornors with a pencil and connect them.  

Step 3
Do the same on another part of the sheet. 


Step 4
Trace all lines with a fine black marker. Draw alternately dots in the shapes that must become black. Color them with a bigger black marker

Stap 5
Color the iris of the eye with pencil. 

woensdag 29 maart 2023

Animals in spring like Hans Innemee


by students of grade 1-2
You need:

  1. grey construction paper 21 bij 21 cm 
  2. oilpastels
This lesson is for grade 1-2. In 2012 I wrote a lesson for grade 3-4 about Hans Innemee. 

Hans Innemee (1951) is a Dutch artist. View artwork of him with the students. Discover the small stories in his work. Can you tell a small story while looking at these two birds? 


Discuss the artworks: 
  1. subject: animals
  2. few colors
  3. frame
  4. simple background
Task for today: draw young animals in spring. Color them with oilpastels. Outline with black around the drawing. 

dinsdag 28 maart 2023

Athletes in motion


You need:

  1. colored construction paper
  2. white drawing sheet 
  3. paperclips
  4. scissors
  5. cutting mat and cutting knife
  6. glue
  7. marker
  8. photo of an athlete 
Print a silhouette of an athlete. Put the colored sheets together with the printed athlete on top. Fix with paper clips. 
Cut out the athlete, and the colored sheets at the same time. Keep moving the paperclips to be sure the four sheets stay together. Use a cutting knife for areas the scissors can't reach.
Make a composition that suggests movement and stick the athletes on the white sheet. Use an marker to fill the background with patterns. 


Thanks to A faithfull attempt for this great lesson. 

zondag 5 februari 2023

Art Noveau tiles


You need: 

  1. colored paper 10 by 10 cm
  2. linoleum 10 by 10 cm
  3. colored cardboard karton 25 bij 25 cm
  4. carbon paper
  5. lino knife
  6. flat piece of glass
  7. block printing ink
  8. lino roller
  9. lino press
  10. glue
Art Nouveau or Jugendstil is an art style that was practiced from 1890 and abruptly stopped with the start of World War 1 in 1914.  t die werd beoefend vanaf circa 1890 en abrupt stopte met de start van WO1 in 1914. 

Art Noveau was mainly applied to everyday products (for emample furniture, glassware, jewellery), in architecture, graphic art and painting. Artists were inspired by nature: patterns with birds, flowers, plants. clouds, rocks, women.  Graceful moving lines express emotion. 

Show Art Noveau tiles: with 2 mirror lines or tiles that form a tableau in a group of 4. 


Explain we are going to print tiles of 20 by 20 cm with linoleum and ink. Ask how you can print an entire tile with an piece of linoleum from only 10 cm: by turning the same stamp 90 degrees each time you make a print.  
Explain how a two-color print works: information here.

What should you do?
Step 1: Draw a quart of a tile on a sheet. 
Step 2: Copy the drawing with the carbon paper on the linoleum. 
Step 3: Cut the background away: the image remains.   
Step 4: Make 8 prints on sheets of 10 by 10 cm and let dry.
Step 5: Wash the linoleum and let dry. 
Step 6: Cut extra details out of the image.
Step 7: Print on the previous prints with a different color.   
Step 8: Choose the best prints. Stick them on the cardboard while making a quarter turn each time. 

All artwork is made by students of grade 6. 

vrijdag 3 februari 2023

Self portrait like Alphonse Mucha


You need:
  1. portrait photo of yourself
  2. white drawing sheet
  3. brown and grey construction paper
  4. color pencil
  5. gold pencil
  6. scissors
  7. glue
Alphonse Mucha
Alphonse Mucha (Czech republic, 1860-1939) is an Art Nouveau artist. Graceful women,  shapes from nature, soft colors and stylized letters  en  are the basis of his work.
In 1887 he moves to Parijs, at that time the center of the modern world: a vibrant night life, modern department stores, wide boulevards with artificial lights that illuminate the city  after sunset. Mucha isn't quite succesfull by then, but that changes when he gets his first assignment: a poster for the  v theater show Gismonda with the famous actress Sarah Bernhardt. Mucha paints a lifesize poster of a beautiful woman surrounded by stylized flower patterns and graceful lines. With this poster Mucha establishes his name as an artist  and is assured of sufficient work in the years that follow. His posters turn Paris into an open-air museum with art for everyone to see. 
Show some artwork of Mucha and discuss them: graceful wavy lines, organic shapes, no bright colors.


Task
Draw the picture of yourself  and color it with pencils. Cut out and stick on brown paper. Decorate the background with organic shapes using a gold color pencil. Cut a frame for you portrait and stick it on your artwork.  

Artworks are made by students of grade 5 and 6. 

donderdag 2 februari 2023

Art Nouveau flower tiles


Art Nouveau or Jugendstil is an art style that was practiced from 1890 and abruptly stopped with the start of World War 1 in 1914.  t die werd beoefend vanaf circa 1890 en abrupt stopte met de start van WO1 in 1914. 

Art Noveau was mainly applied to everyday products (for emample furniture, glassware, jewellery), in architecture, graphic art and painting. Artists were inspired by nature: patterns with birds, flowers, plants. clouds, rocks, women.  Graceful moving lines express emotion. 

Famous Art Nouveau artists are Alphonse Mucha,  Gustav Klimt, Gaudi, Berlage. 

You need:

  1. folding sheets 10 by 10 cm in several colors
  2. pencil
  3. scissors
  4. glue
  5. colored construction paper 30 by 20 cm

Show pictures of  Art Nouveau tiles: organic shapes of flowers and plants. 

Tell students they are going to build a litte wall of tiles in Art Nouveau style.  Every wall has six tiles. Flowers have to be cut out of the folding sheets. Try to use as much as possible of those sheets, so what you cut you glue on the wall. 

Artworks made by students of grade 2 

woensdag 1 februari 2023

Op art paper weaving like Victor Vasarely


Victor Vasarely, 1906-1997, was a French-Hungarian artist and one of the most important representives of Op Art.  Vasarely studied in Budapest and left for Paris in 1930 to work as a decorator. 

Op-art, short for optical art. The word optical is used to describe tings that relate to how we see. Artists use shapes, colours and patterns in special ways to create images that look as if they are moving or blurring. Op art started in the 1960. Op-art is a style of visual art that uses optical illusions. The artwork gives the viewer the impression of movement, hidden images and vibrating patterns.

You need: 

  1. black construction sheet  (23 by 33 cm,)
  2. white or colored paper in strips of 2 cm 
  3. ruler
  4. pencil
  5. scissors
  6. glue 
Stap 1
Fold the black sheet in half. Put the fold down in front of you. Draw a line at the top at 3 cm from the edge. Draw a center line from top to bottom. Mark a dot every cm on the fold from the center line. Make a dot every 1 cm at  the top starting from the center line. Draw lines between the dots. 

Stap 2
Leave the sheet folded in half. Cut the lines up to the 3 cm strip.   

Stap 3
Weave the strips into the frame. Start in the middle: press the strips agaiinst the fold on  both sides. Press the next strips against the previous ones.  

Stap 4
Glue the loose ends on one site. 


Stap 5
Turn your work over and cut the loose ends of the strips.  


by students of grade 6