donderdag 30 maart 2023

Op art around an eye


You need: 

  1. drawing sheet 20 by 20 cm
  2. ruler
  3. pencil
  4. post it 
  5. black markers

Step 1
Draw an eye in the middle. 
Draw lines from the eye to the edges. Important: this must be an EVEN number of lines, otherwise you won't be able to color a checkerboard pattern later.  


Step 2
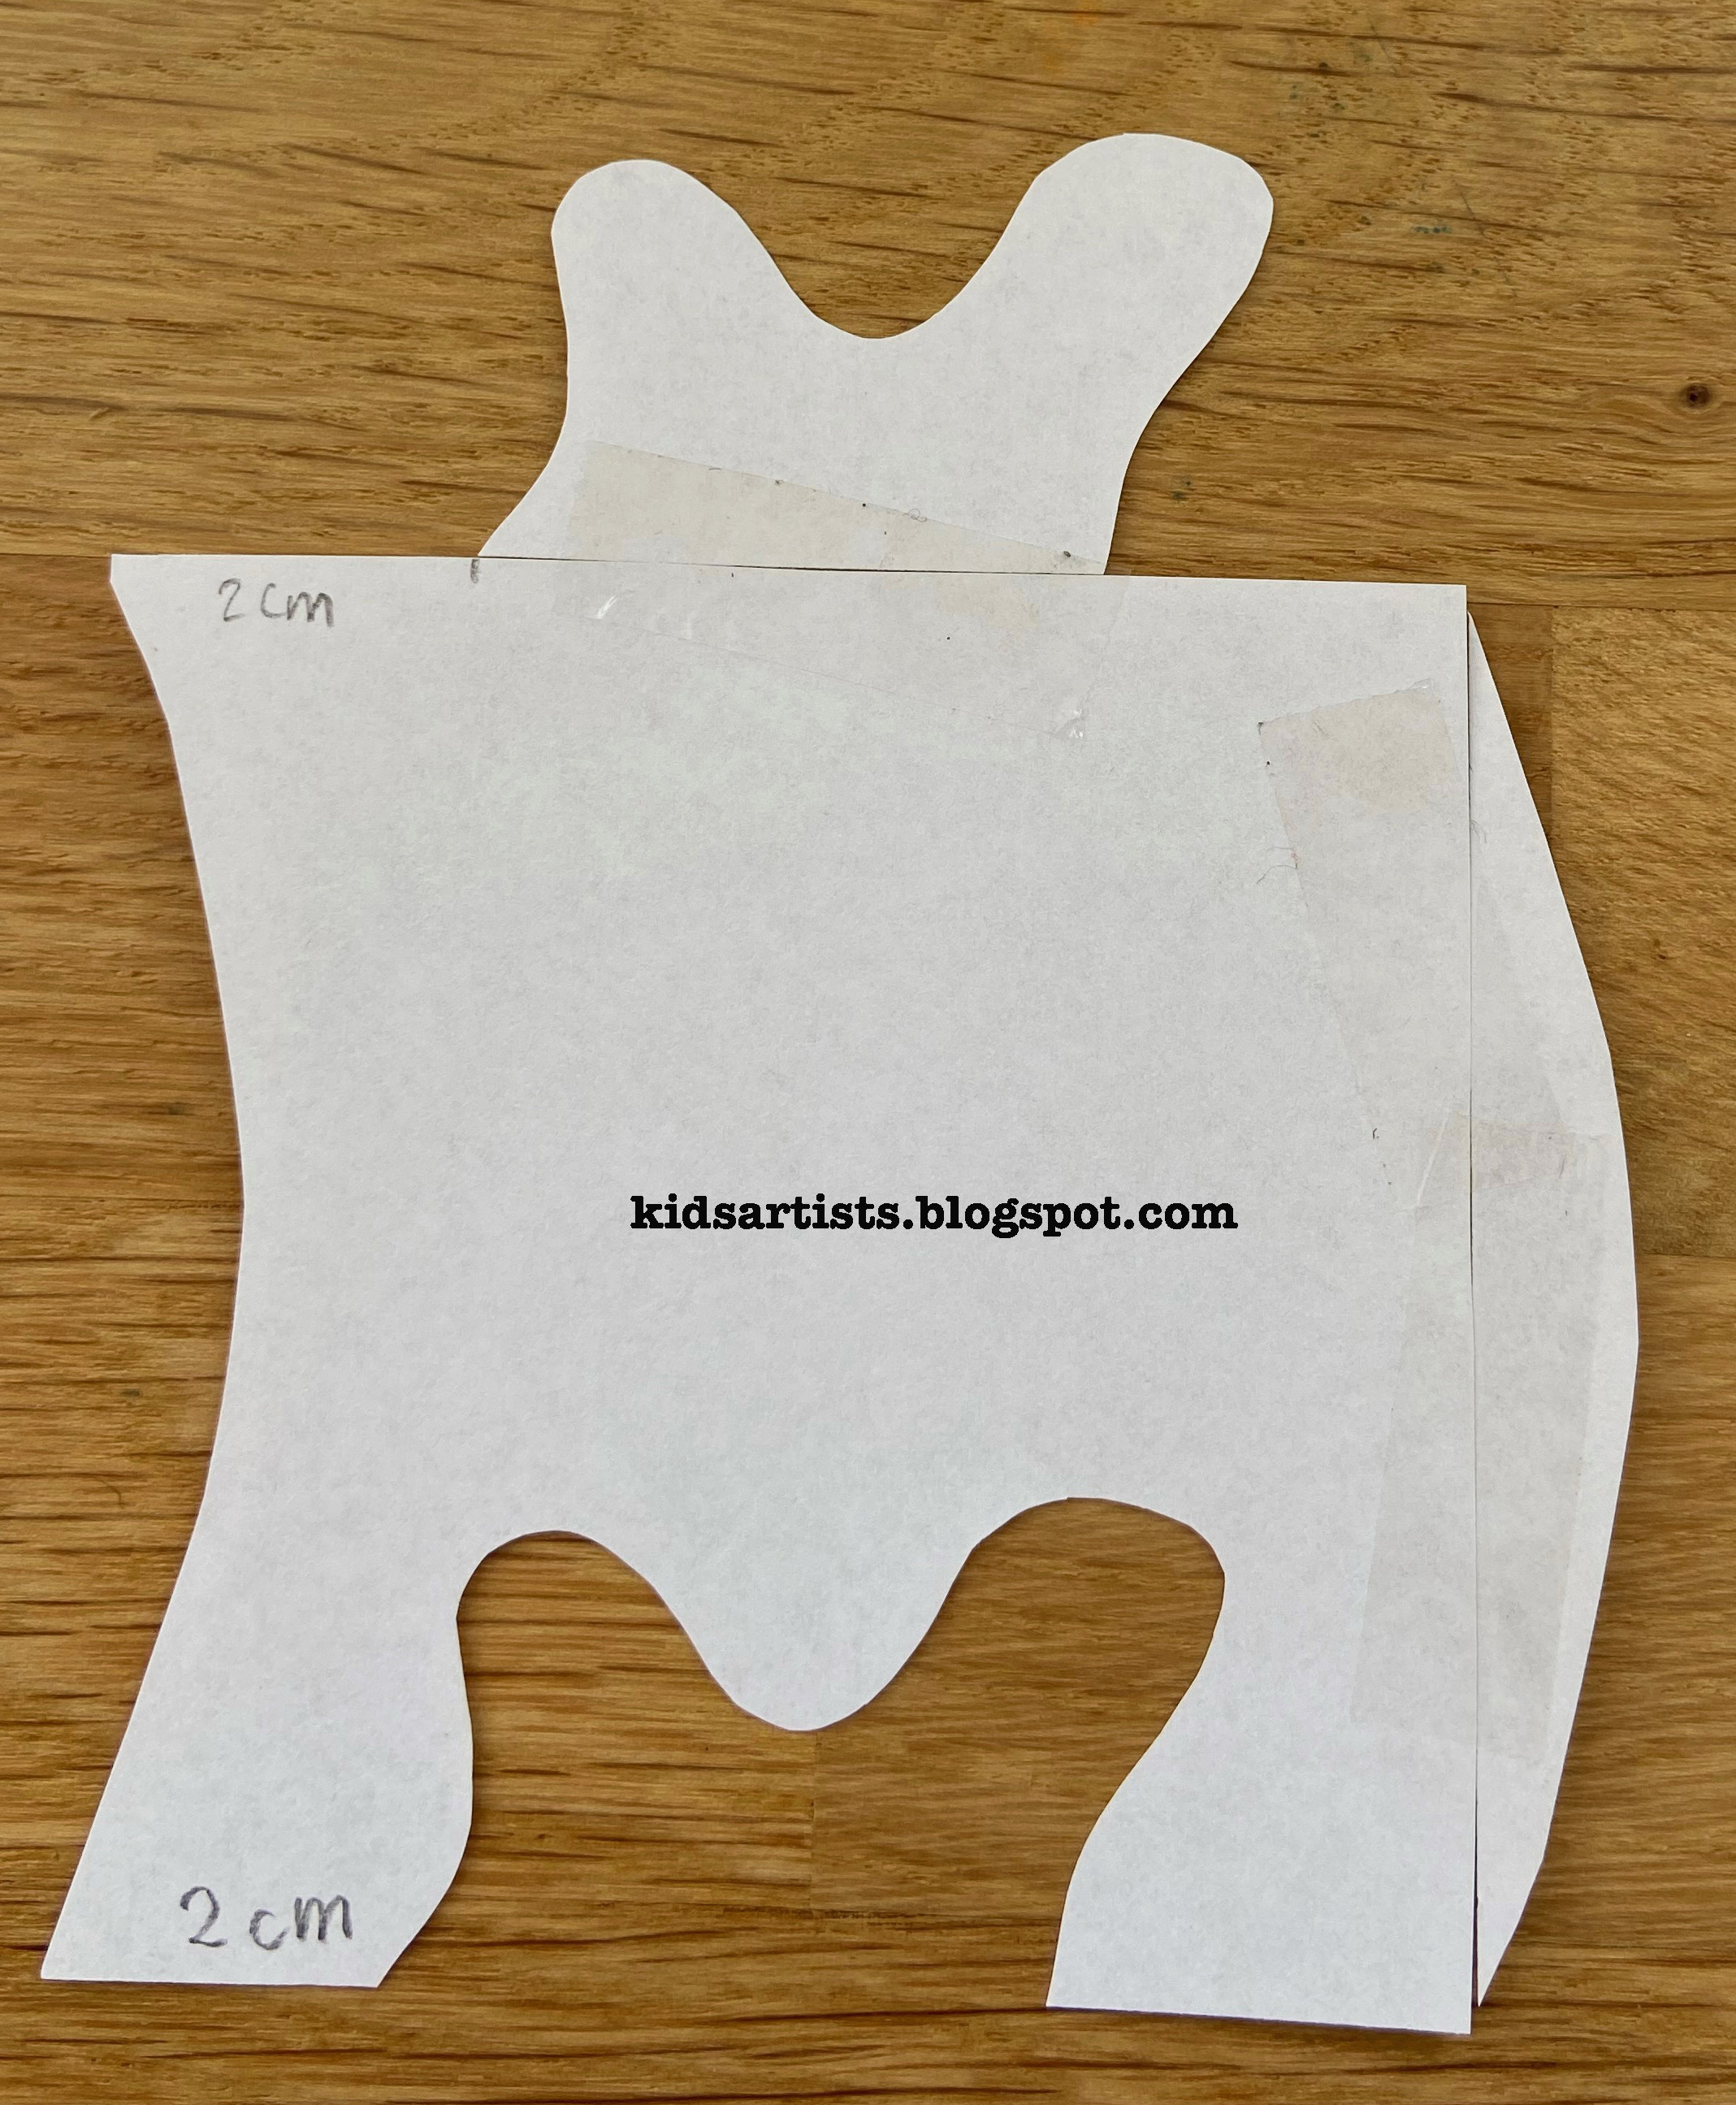
Put a post-it on the eye. Be sure there will be place for another one later.  Draw dots on the cornors with a pencil and connect them.  

Step 3
Do the same on another part of the sheet. 


Step 4
Trace all lines with a fine black marker. Draw alternately dots in the shapes that must become black. Color them with a bigger black marker

Stap 5
Color the iris of the eye with pencil. 

woensdag 29 maart 2023

Animals in spring like Hans Innemee


by students of grade 1-2
You need:

  1. grey construction paper 21 bij 21 cm 
  2. oilpastels
This lesson is for grade 1-2. In 2012 I wrote a lesson for grade 3-4 about Hans Innemee. 

Hans Innemee (1951) is a Dutch artist. View artwork of him with the students. Discover the small stories in his work. Can you tell a small story while looking at these two birds? 


Discuss the artworks: 
  1. subject: animals
  2. few colors
  3. frame
  4. simple background
Task for today: draw young animals in spring. Color them with oilpastels. Outline with black around the drawing. 

dinsdag 28 maart 2023

Athletes in motion


You need:

  1. colored construction paper
  2. white drawing sheet 
  3. paperclips
  4. scissors
  5. cutting mat and cutting knife
  6. glue
  7. marker
  8. photo of an athlete 
Print a silhouette of an athlete. Put the colored sheets together with the printed athlete on top. Fix with paper clips. 
Cut out the athlete, and the colored sheets at the same time. Keep moving the paperclips to be sure the four sheets stay together. Use a cutting knife for areas the scissors can't reach.
Make a composition that suggests movement and stick the athletes on the white sheet. Use an marker to fill the background with patterns. 


Thanks to A faithfull attempt for this great lesson. 

zondag 5 februari 2023

Art Noveau tiles


You need: 

  1. colored paper 10 by 10 cm
  2. linoleum 10 by 10 cm
  3. colored cardboard karton 25 bij 25 cm
  4. carbon paper
  5. lino knife
  6. flat piece of glass
  7. block printing ink
  8. lino roller
  9. lino press
  10. glue
Art Nouveau or Jugendstil is an art style that was practiced from 1890 and abruptly stopped with the start of World War 1 in 1914.  t die werd beoefend vanaf circa 1890 en abrupt stopte met de start van WO1 in 1914. 

Art Noveau was mainly applied to everyday products (for emample furniture, glassware, jewellery), in architecture, graphic art and painting. Artists were inspired by nature: patterns with birds, flowers, plants. clouds, rocks, women.  Graceful moving lines express emotion. 

Show Art Noveau tiles: with 2 mirror lines or tiles that form a tableau in a group of 4. 


Explain we are going to print tiles of 20 by 20 cm with linoleum and ink. Ask how you can print an entire tile with an piece of linoleum from only 10 cm: by turning the same stamp 90 degrees each time you make a print.  
Explain how a two-color print works: information here.

What should you do?
Step 1: Draw a quart of a tile on a sheet. 
Step 2: Copy the drawing with the carbon paper on the linoleum. 
Step 3: Cut the background away: the image remains.   
Step 4: Make 8 prints on sheets of 10 by 10 cm and let dry.
Step 5: Wash the linoleum and let dry. 
Step 6: Cut extra details out of the image.
Step 7: Print on the previous prints with a different color.   
Step 8: Choose the best prints. Stick them on the cardboard while making a quarter turn each time. 

All artwork is made by students of grade 6. 

vrijdag 3 februari 2023

Self portrait like Alphonse Mucha


You need:
  1. portrait photo of yourself
  2. white drawing sheet
  3. brown and grey construction paper
  4. color pencil
  5. gold pencil
  6. scissors
  7. glue
Alphonse Mucha
Alphonse Mucha (Czech republic, 1860-1939) is an Art Nouveau artist. Graceful women,  shapes from nature, soft colors and stylized letters  en  are the basis of his work.
In 1887 he moves to Parijs, at that time the center of the modern world: a vibrant night life, modern department stores, wide boulevards with artificial lights that illuminate the city  after sunset. Mucha isn't quite succesfull by then, but that changes when he gets his first assignment: a poster for the  v theater show Gismonda with the famous actress Sarah Bernhardt. Mucha paints a lifesize poster of a beautiful woman surrounded by stylized flower patterns and graceful lines. With this poster Mucha establishes his name as an artist  and is assured of sufficient work in the years that follow. His posters turn Paris into an open-air museum with art for everyone to see. 
Show some artwork of Mucha and discuss them: graceful wavy lines, organic shapes, no bright colors.


Task
Draw the picture of yourself  and color it with pencils. Cut out and stick on brown paper. Decorate the background with organic shapes using a gold color pencil. Cut a frame for you portrait and stick it on your artwork.  

Artworks are made by students of grade 5 and 6. 

donderdag 2 februari 2023

Art Nouveau flower tiles


Art Nouveau or Jugendstil is an art style that was practiced from 1890 and abruptly stopped with the start of World War 1 in 1914.  t die werd beoefend vanaf circa 1890 en abrupt stopte met de start van WO1 in 1914. 

Art Noveau was mainly applied to everyday products (for emample furniture, glassware, jewellery), in architecture, graphic art and painting. Artists were inspired by nature: patterns with birds, flowers, plants. clouds, rocks, women.  Graceful moving lines express emotion. 

Famous Art Nouveau artists are Alphonse Mucha,  Gustav Klimt, Gaudi, Berlage. 

You need:

  1. folding sheets 10 by 10 cm in several colors
  2. pencil
  3. scissors
  4. glue
  5. colored construction paper 30 by 20 cm

Show pictures of  Art Nouveau tiles: organic shapes of flowers and plants. 

Tell students they are going to build a litte wall of tiles in Art Nouveau style.  Every wall has six tiles. Flowers have to be cut out of the folding sheets. Try to use as much as possible of those sheets, so what you cut you glue on the wall. 

Artworks made by students of grade 2 

woensdag 1 februari 2023

Op art paper weaving like Victor Vasarely


Victor Vasarely, 1906-1997, was a French-Hungarian artist and one of the most important representives of Op Art.  Vasarely studied in Budapest and left for Paris in 1930 to work as a decorator. 

Op-art, short for optical art. The word optical is used to describe tings that relate to how we see. Artists use shapes, colours and patterns in special ways to create images that look as if they are moving or blurring. Op art started in the 1960. Op-art is a style of visual art that uses optical illusions. The artwork gives the viewer the impression of movement, hidden images and vibrating patterns.

You need: 

  1. black construction sheet  (23 by 33 cm,)
  2. white or colored paper in strips of 2 cm 
  3. ruler
  4. pencil
  5. scissors
  6. glue 
Stap 1
Fold the black sheet in half. Put the fold down in front of you. Draw a line at the top at 3 cm from the edge. Draw a center line from top to bottom. Mark a dot every cm on the fold from the center line. Make a dot every 1 cm at  the top starting from the center line. Draw lines between the dots. 

Stap 2
Leave the sheet folded in half. Cut the lines up to the 3 cm strip.   

Stap 3
Weave the strips into the frame. Start in the middle: press the strips agaiinst the fold on  both sides. Press the next strips against the previous ones.  

Stap 4
Glue the loose ends on one site. 


Stap 5
Turn your work over and cut the loose ends of the strips.  


by students of grade 6 

donderdag 15 september 2022

Patchwork landscape

by a student of grade 4
 You need:

  1. white drawing sheets
  2. water color paint
  3. brushes
  4. jar with water
  5. crayons
Steps:
  1.  Put the sheet in width for you.
  2.  Draw a wavy line on 2/3 of the bottom using a crayon.
  3. Divide this area in 12 of 15 surfaces by drawing 2 horizontal and 3 o4 r vertical lines. 
  4. Draw with a crayon house and trees on the horizon line.
  5. Draw patterns in the surfaces.
  6. Paint the surfaces in differtent colors.  
  7. Paint house, trees and  air. 
With this lesson you can also practice one-point perspective. Place a dot in the middle from the top of the sheet and draw vertical lines towards this dot. 


bij a student of grade 4


woensdag 14 september 2022

Robots rule

 You need:

  1. drawing sheets
  2. pencil
  3. markers
  4. water color paint
  5. brush 
  6. jar with water
  7. chalk pastels 


Draw a robot. Trace all pencil lines with a black marker. Color the drawing with markers, except the parts that should become metallic look. 
Paint the body of the robot grey (metallic) with water color paint. 
Let dry and color the background with chalk pastels. 


by students of grade 3


dinsdag 23 augustus 2022

Sunflowers in pieces

by Neil

This lesson shows we can do more with our artworks dan stick them on a colored background. Pretty scare to tear or cut your drawing, but the effect is great! 

You need: 

  1. white drawing sheet 
  2. black construction paper for background 
  3. pencil
  4. oilpastels
  5. liquid water color paint
  6. brush
  7. scissors
  8. glue

Draw at least four sunflowers. Be sure three of them are over  the edges.  Color them with oilpastels. Paint the backgrond with liquid water color paint. 

Neil's drawing is torn in pieces. Those pieces have been re-glued for a spatial effect. Before tearing check which side of the paper is best. One side gives nice white tear lines, the other side does not.  

by Lyan

Lyan and Jurre have pasted black strips over their artword, creating a window through which you look outside. 

by Jurre

Elements of art: color, space.

maandag 15 augustus 2022

Escher's tesselations

You need: 
  1. white drawing sheet
  2. thin cardboard 7 by 7 cm
  3. pencil
  4. scissors
  5. color markers 
  6. black marker
  7. black construction paper for background 
Use this book for your lesson: 'Nadir en Zenith in the world of Escher' by Wouter van Reek. Publisher: Leopold. EAN: 9789025876920. 


Nadir and Zenith come to a place that is so strange they can’t even tell if it’s real. Their curiosity is aroused and they look further. And further. Going deeper and deeper into the weird and wonderful world of M.C. Escher, where nothing is quite what it seems. Fortunately Mr Escher helps them find their way. Or is it the other way round?

M.C. Escher
Maurits Cornelis (Mauk) Escher (1898-1972) is born in the Netherlands. After high school he goes to the graphics department of a technical college to become graphic artist. During a trip to the Alhambra in Granada he discovers the Moorish  mosaics. These have a major influence on his later artwork and are the basis for this lesson. 

View artworks from Escher and discuss them. Show for example the impossible buildings Belvedere or Waterfall. 
Look at some pictures with animal tesselations and talk about symmetry = two objects are each other's mirror image. You can show examples of the three basic types of symmetry. 

What do you see? How would Escher have made these prints? In which pictures do you see he has made different animals? And in which prints do you see the same animal? Where are the animals mirrored? Where do you see all animals heading in the same direction? Can you mention other symmetrical things? 


What should you do? 
1. Take a piece of cardboard from 7 by 7 cm. Draw a shape on two following sides and cut them out. 

2. Stick the cut pieces on the opposite site of the cardboard with tape. Make sure the distance from the edges is the same. 

3. Trace this shape with a pencil on a drawing sheet. Move the shape and trace again. 

4. Fill up your sheet completely, so also with half animals along the edges.  

5. Search for an animal in the shape. Draw details.  

6. Choose two colors and color the animals alternately. Outline the shapes with black marker and draw details with the black marker too.  

7. Stick your artwork on a  black sheet. 

zondag 14 augustus 2022

Landscape like Ton Schulten


You need:

  1. drawing sheet 
  2. tempera paint in primary colors, black and white  
  3. ruler
  4. pencil
  5. brushes
Ton Schulten (1938) is a Dutch painter, born and living in the small town Ootmarsum. He worked as a graphic designer and decided in 1989 to devote himself entirely to painting. His main source of inspiration is the landscape of Twente, a region in the east of Holland. This is a semi-open landscape that, due to the planting of hedges and wooded banks, looks like a stage with wings.  

Show artworks from Ton Schulten and discuss them.
  • Schulten's use of colors  
  • horizon line
  • the 'curtains' on the sides - the picture is darker there than in the middle
  • simple shapes
  • divided in rectangles
by students of grade 6

What should you do? 
You're going to draw a landscape like Ton Schulten. First draw a horizon line on about half of the sheet. Draw one or some simple houses. Then draw some draw trees. Divide the drawing with horizontal and vertical lines into small rectangles.  
Paint the rectangles with tempera. Mix your own colors, starting with the brightest one. For example: start with white and add a drop of blue to get light blue; add more drops to get a darker blue.  
Perhaps you can draw 'curtains', just like Ton Schulten: the sides are darker than those in the center. 

Elements of art: shape, line, color, nuance.